
3 posts tagged with "connectors"

View All Tags

· 4 min read
Hrittik Roy

Creating a delegate requires the creation of an infrastructure in which computational tasks can take place. The infrastructure is typically a Kubernetes cluster.

This tutorial shows you how to set up a Kubernetes cluster on Azure and will serve as the foundation for your CI/CD pipeline infrastructure. After the infrastructure is ready on a free account, you can proceed to create and install a Delegate.

Student Account

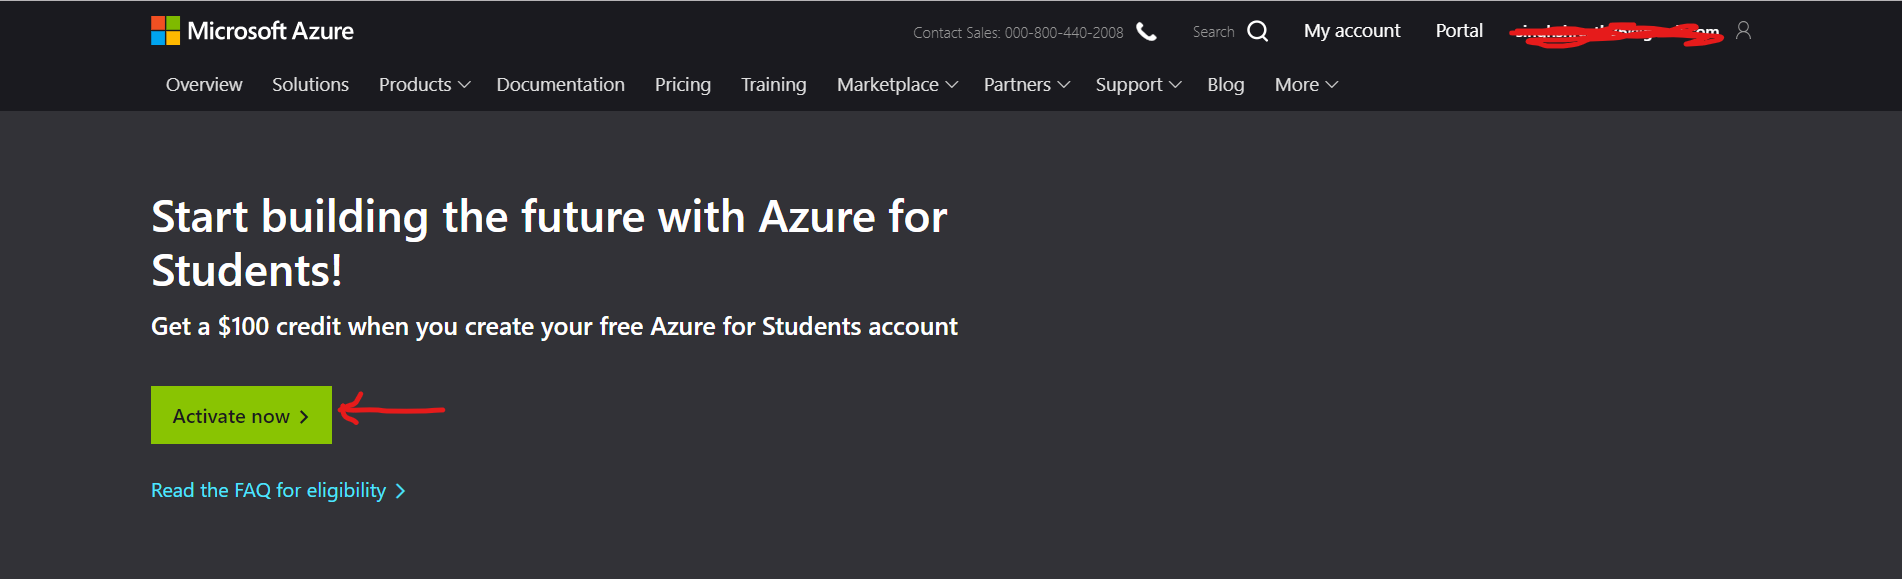
If you’re a student, you’re in luck as there is Azure for Students where you can sign in with your educational email address to create an account without a credit card to get $100 worth of credits.

These credits can be used to deploy the Kubernetes Cluster and other services if required.

To, get started with the account creation go to Azure for Students.

Step 1: Click on Activate Now

Activate Free Account

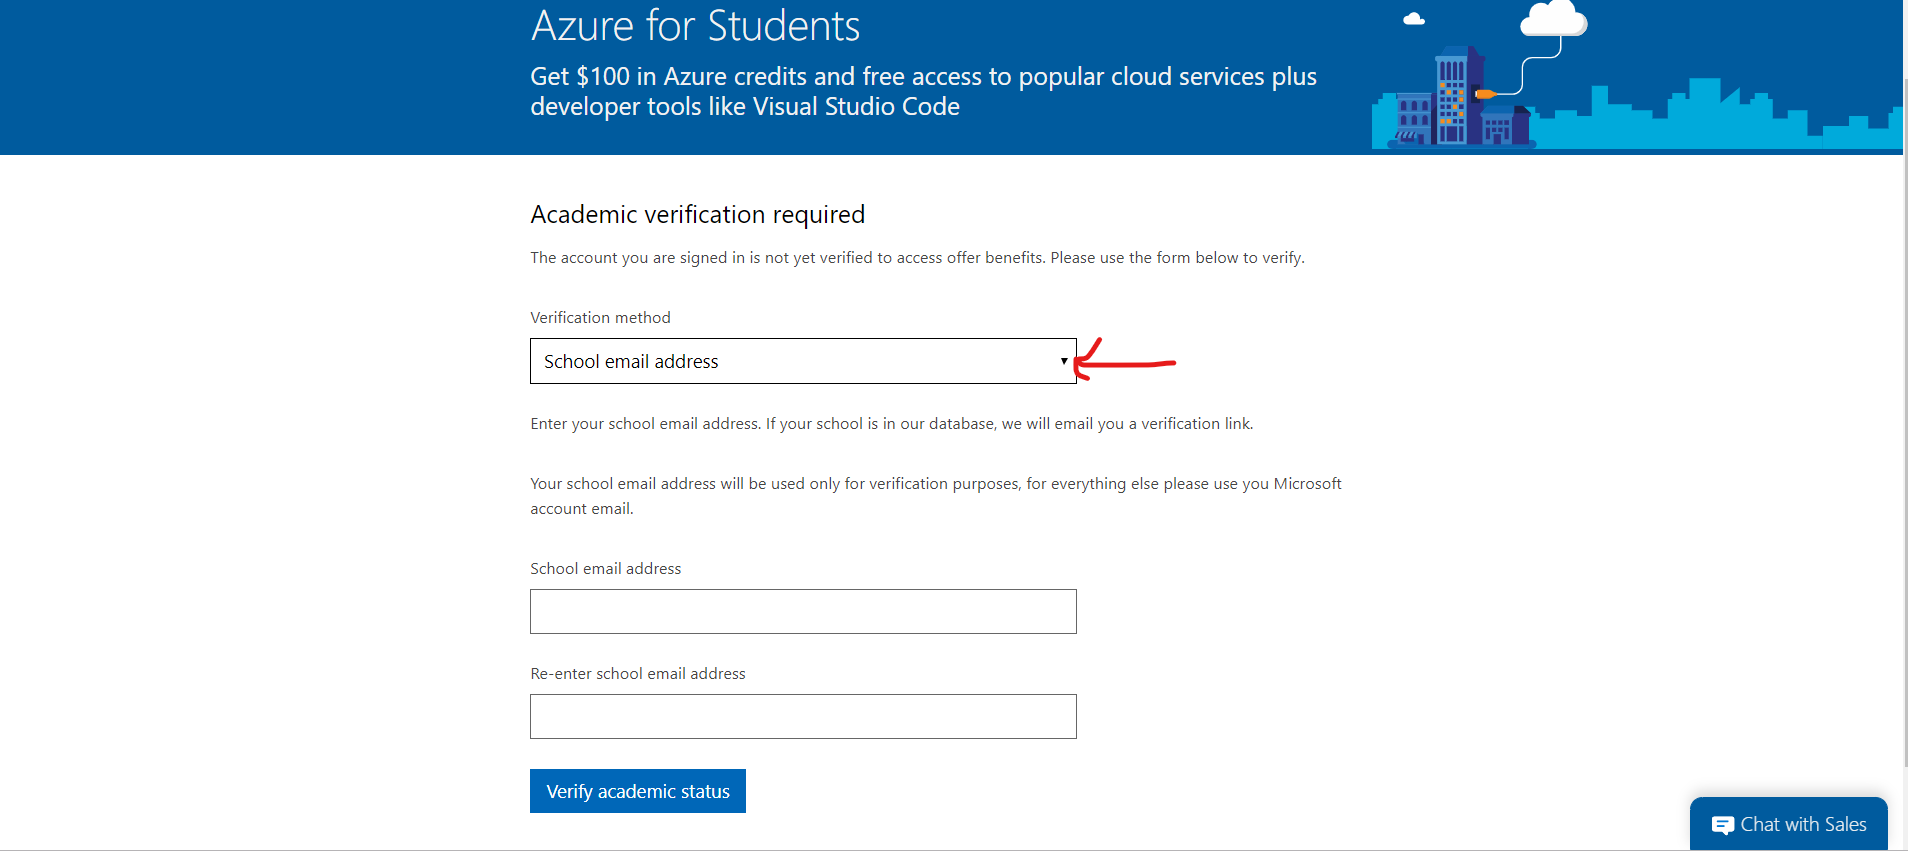
Step 2: After signing in with a Microsoft account, enter your educational email address:

Activate Azure for Students

Step 3: Sign in to Azure Portal!

A free Azure Account

For anyone who can verify their identity with a phone number and a credit card, Azure offers a free account with $200 in Azure credit. Once your account has been verified, you can create a Kubernetes cluster in it.

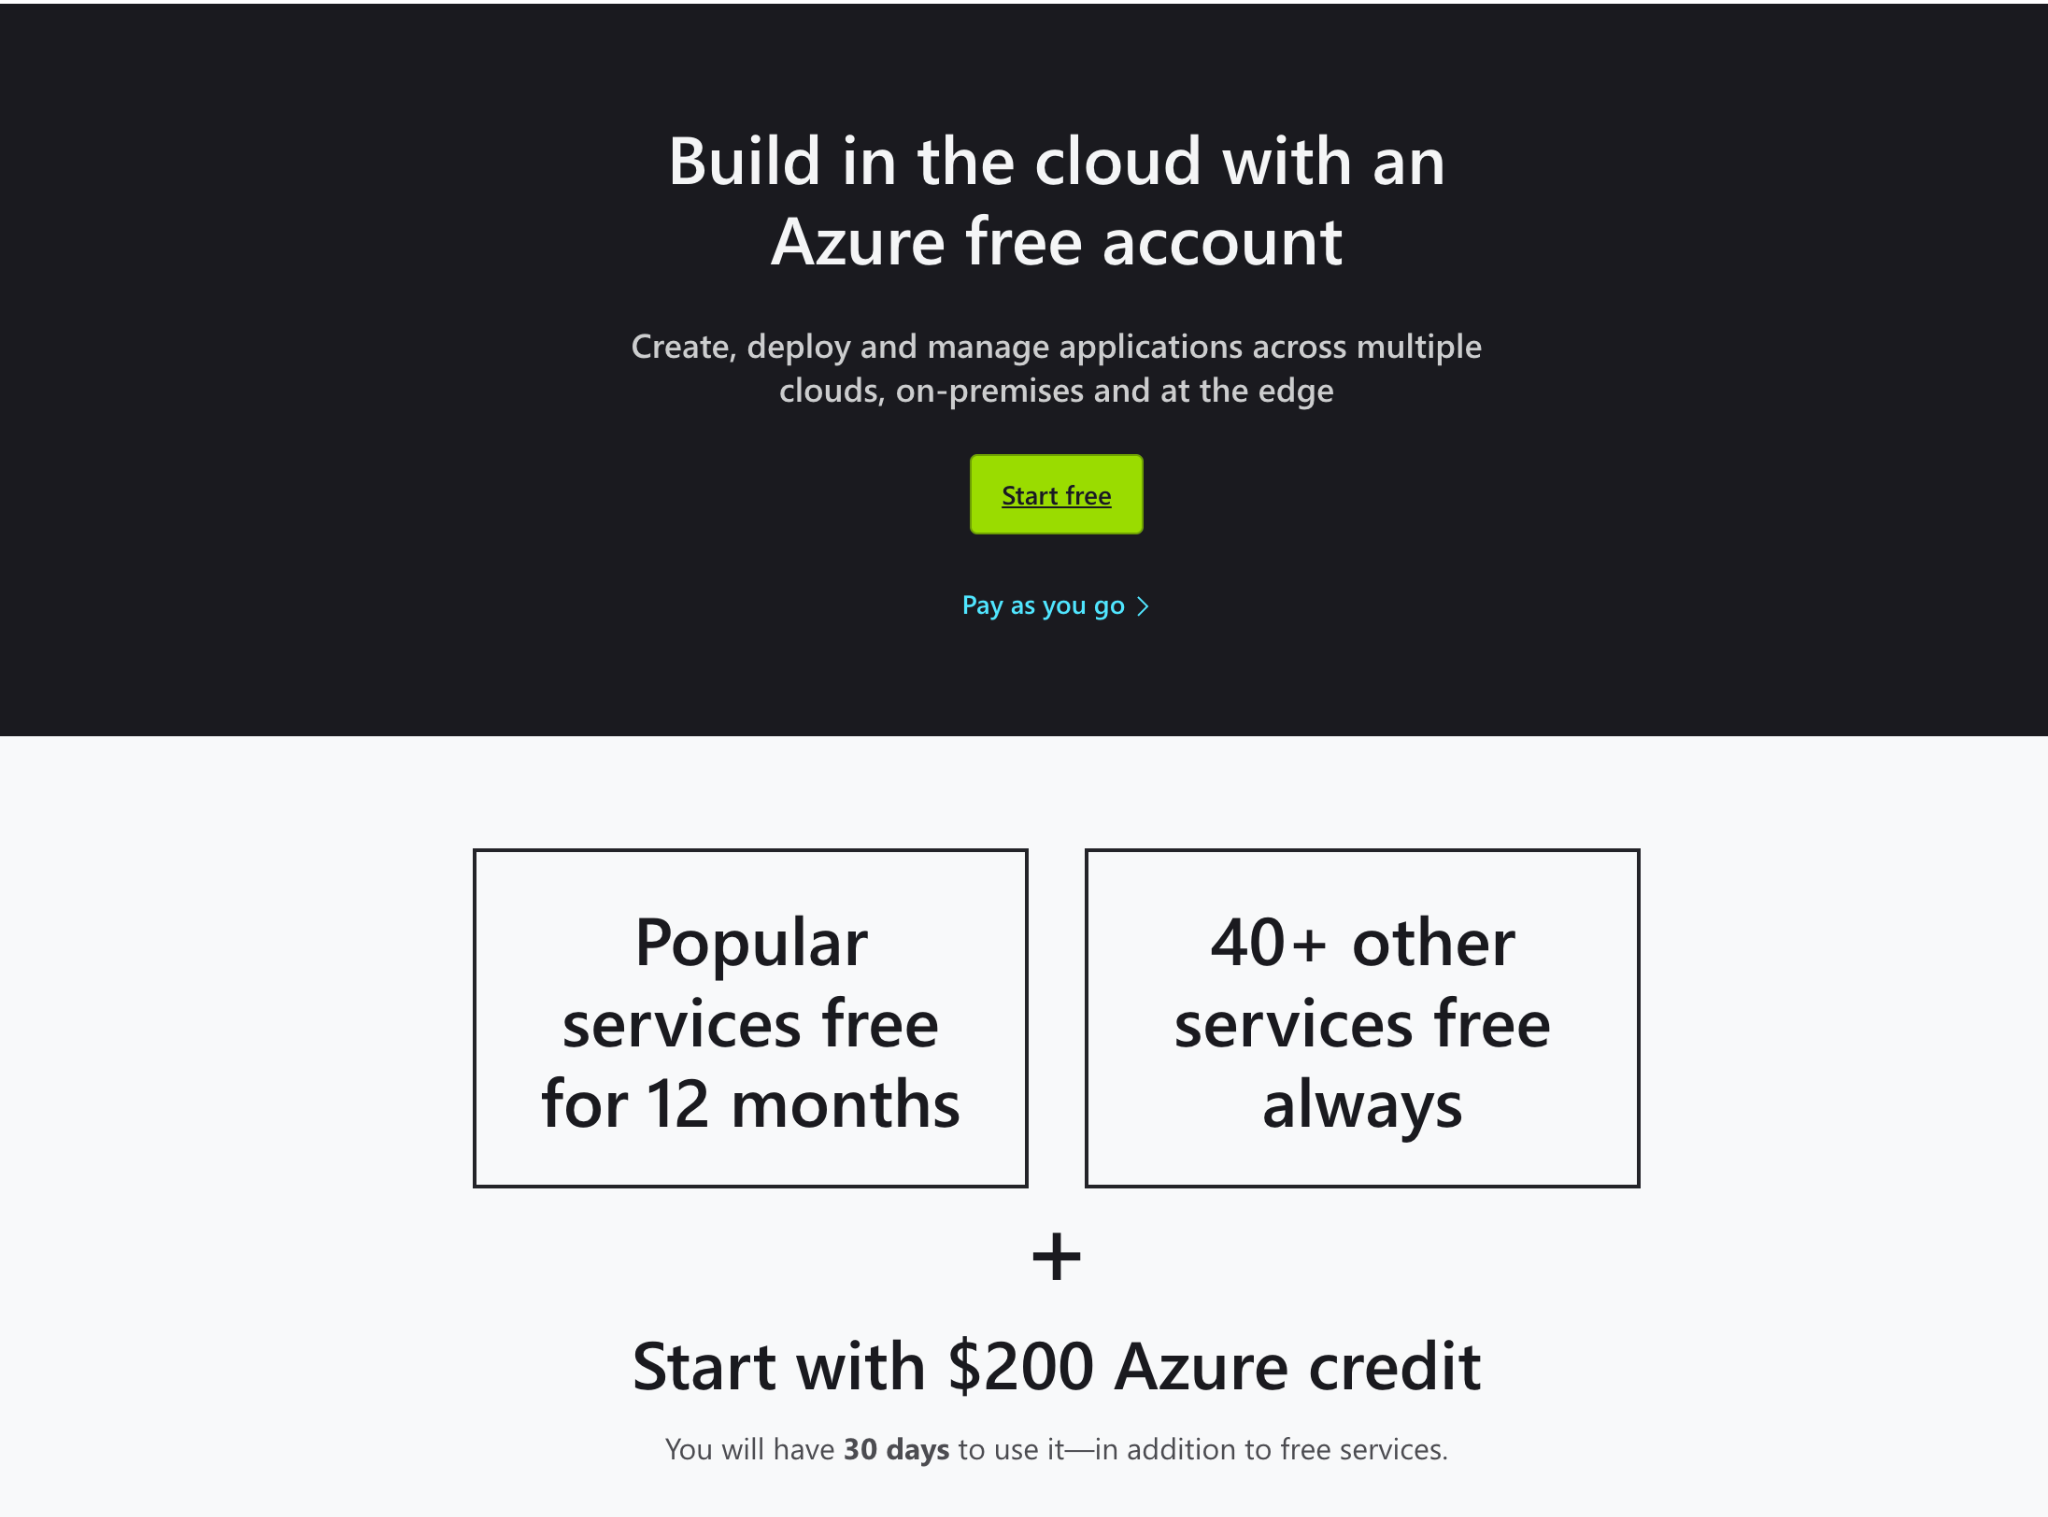
Step 1: Go to the Azure Free Account Page

Step 2: Click on Start free to start the account creation procedure

Azure Free Account

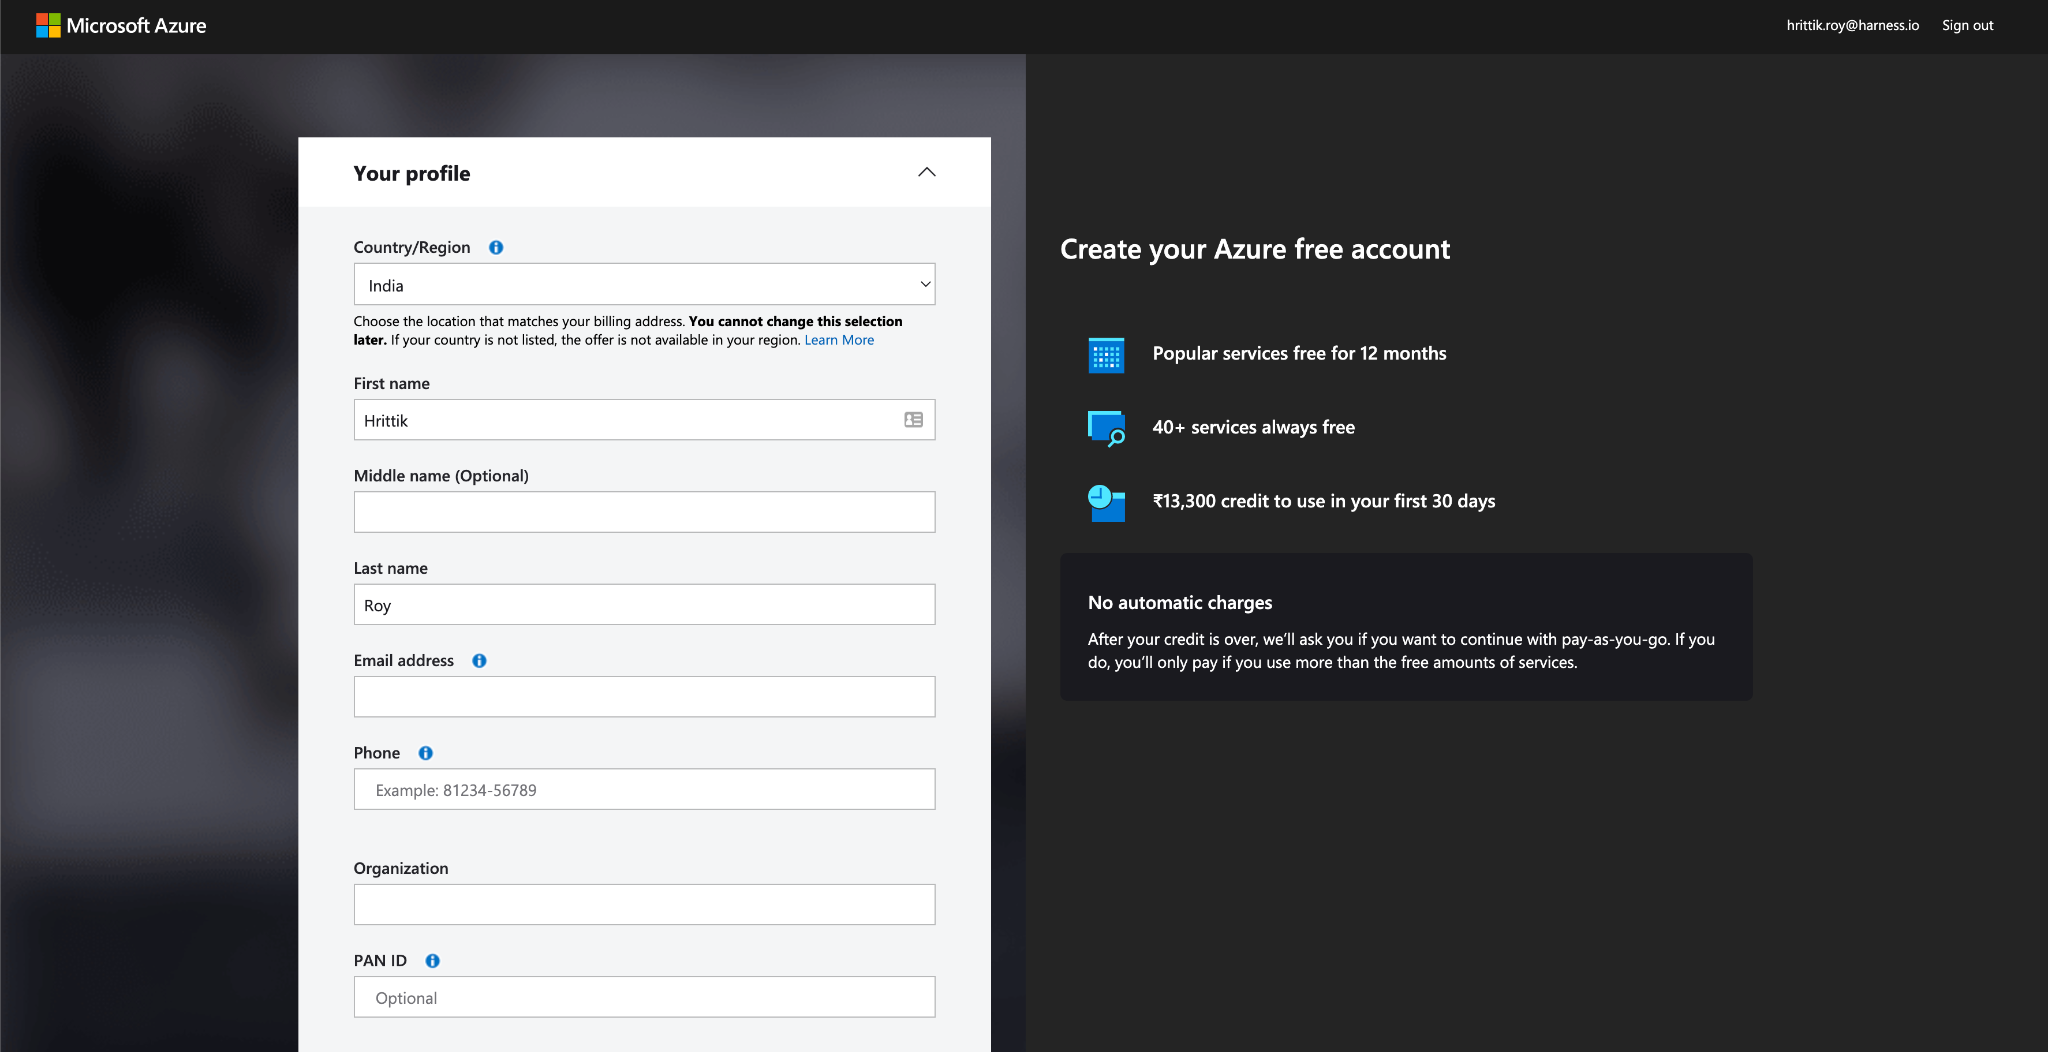
Step 3: Fill in the following fields

Fill Details

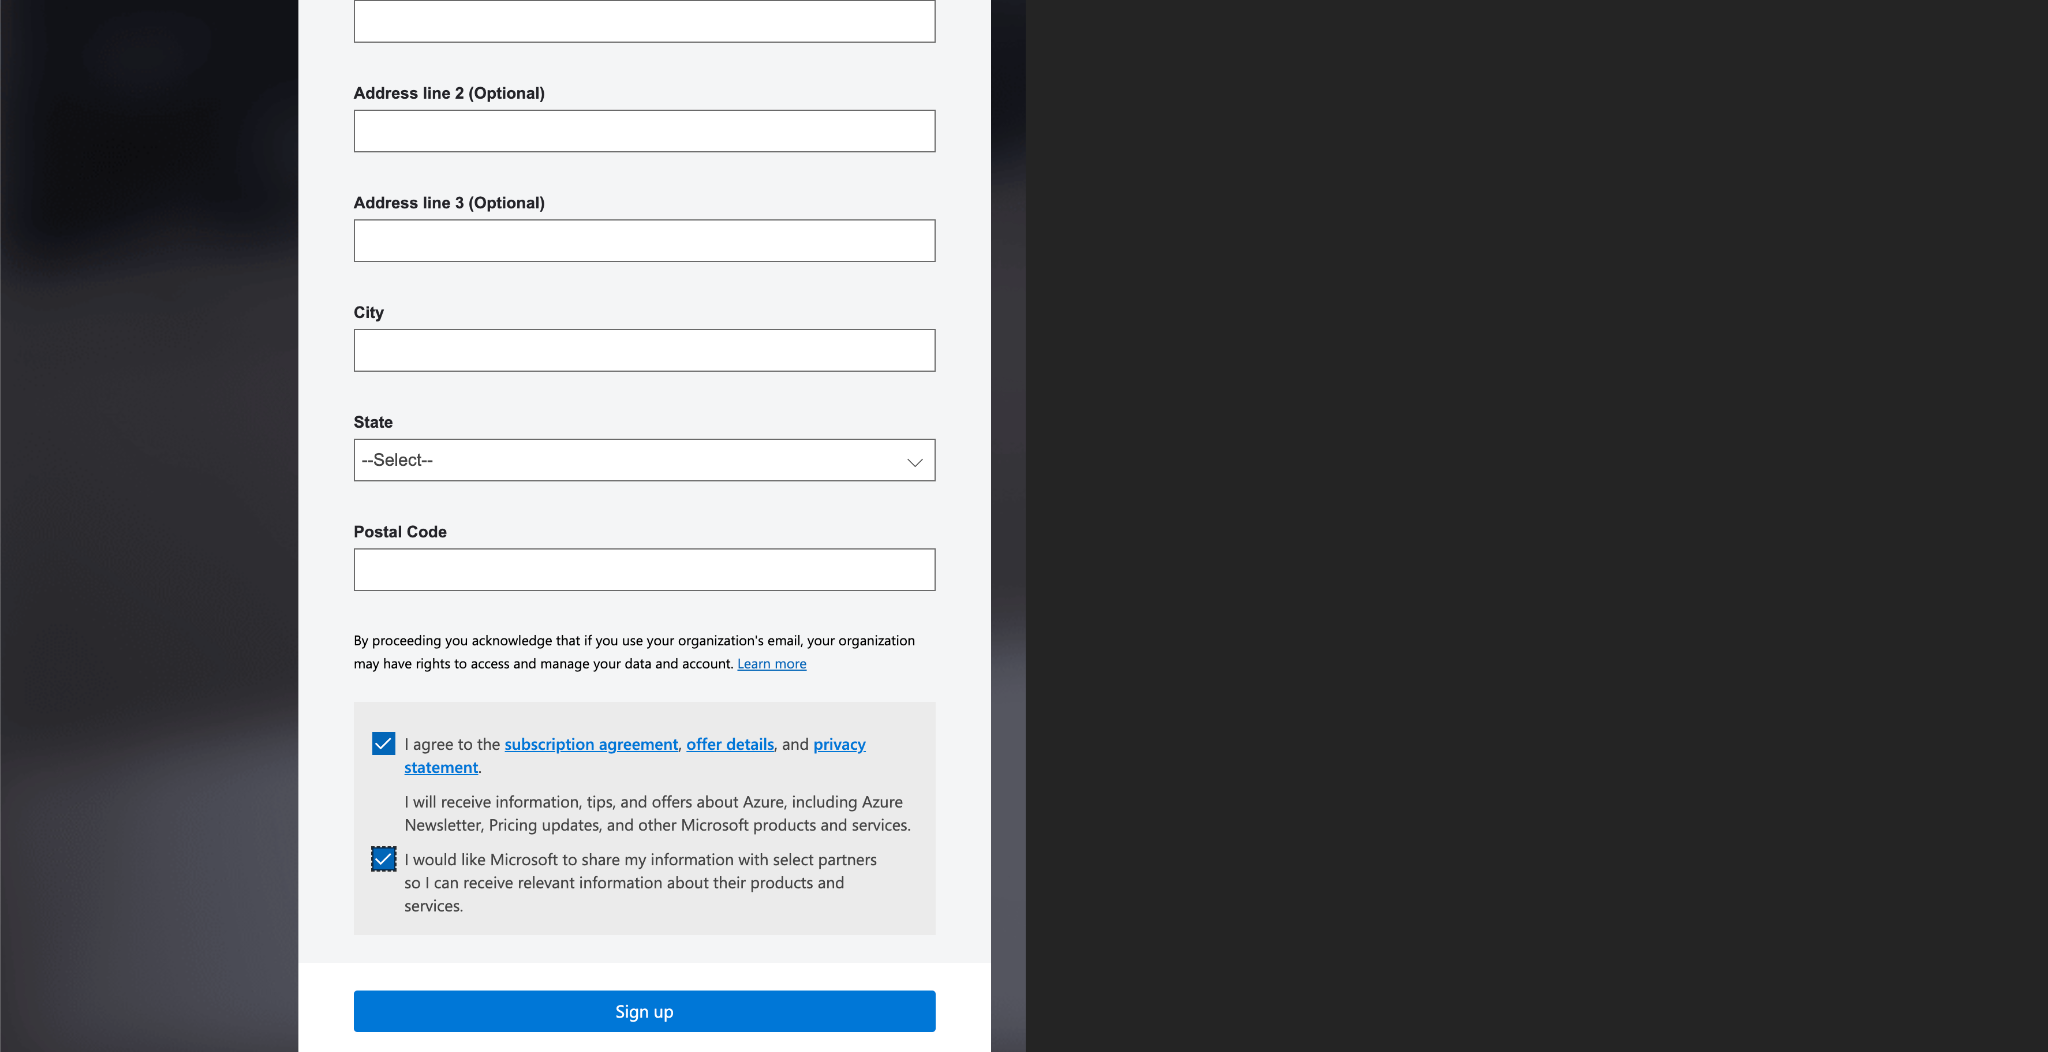
Step 4: Once your details are in click on Sign Up after you have accepted the terms and conditions.

Sign Up Credit Card

Step 5: Verify your phone number

Step 6: Put in your CC details and depending upon your Region a small amount will be deducted and refunded for verification.

Step 7: You can access your account using the Azure Portal

Azure Portal

Azure portal is the web-based management console for Microsoft Azure. It provides a single, unified view of all your Azure resources, including compute, storage, networking, and security. You can use the Azure portal to deploy and manage your Azure resources and to monitor their health and usage.

Azure Portal

You will use the portal to create your Kubernetes Cluster and connect to it.

Create a Cluster

The steps to create a cluster will be to use the Azure Kubernetes Service which is the managed Kubernetes offering from Azure. The steps are as follows:

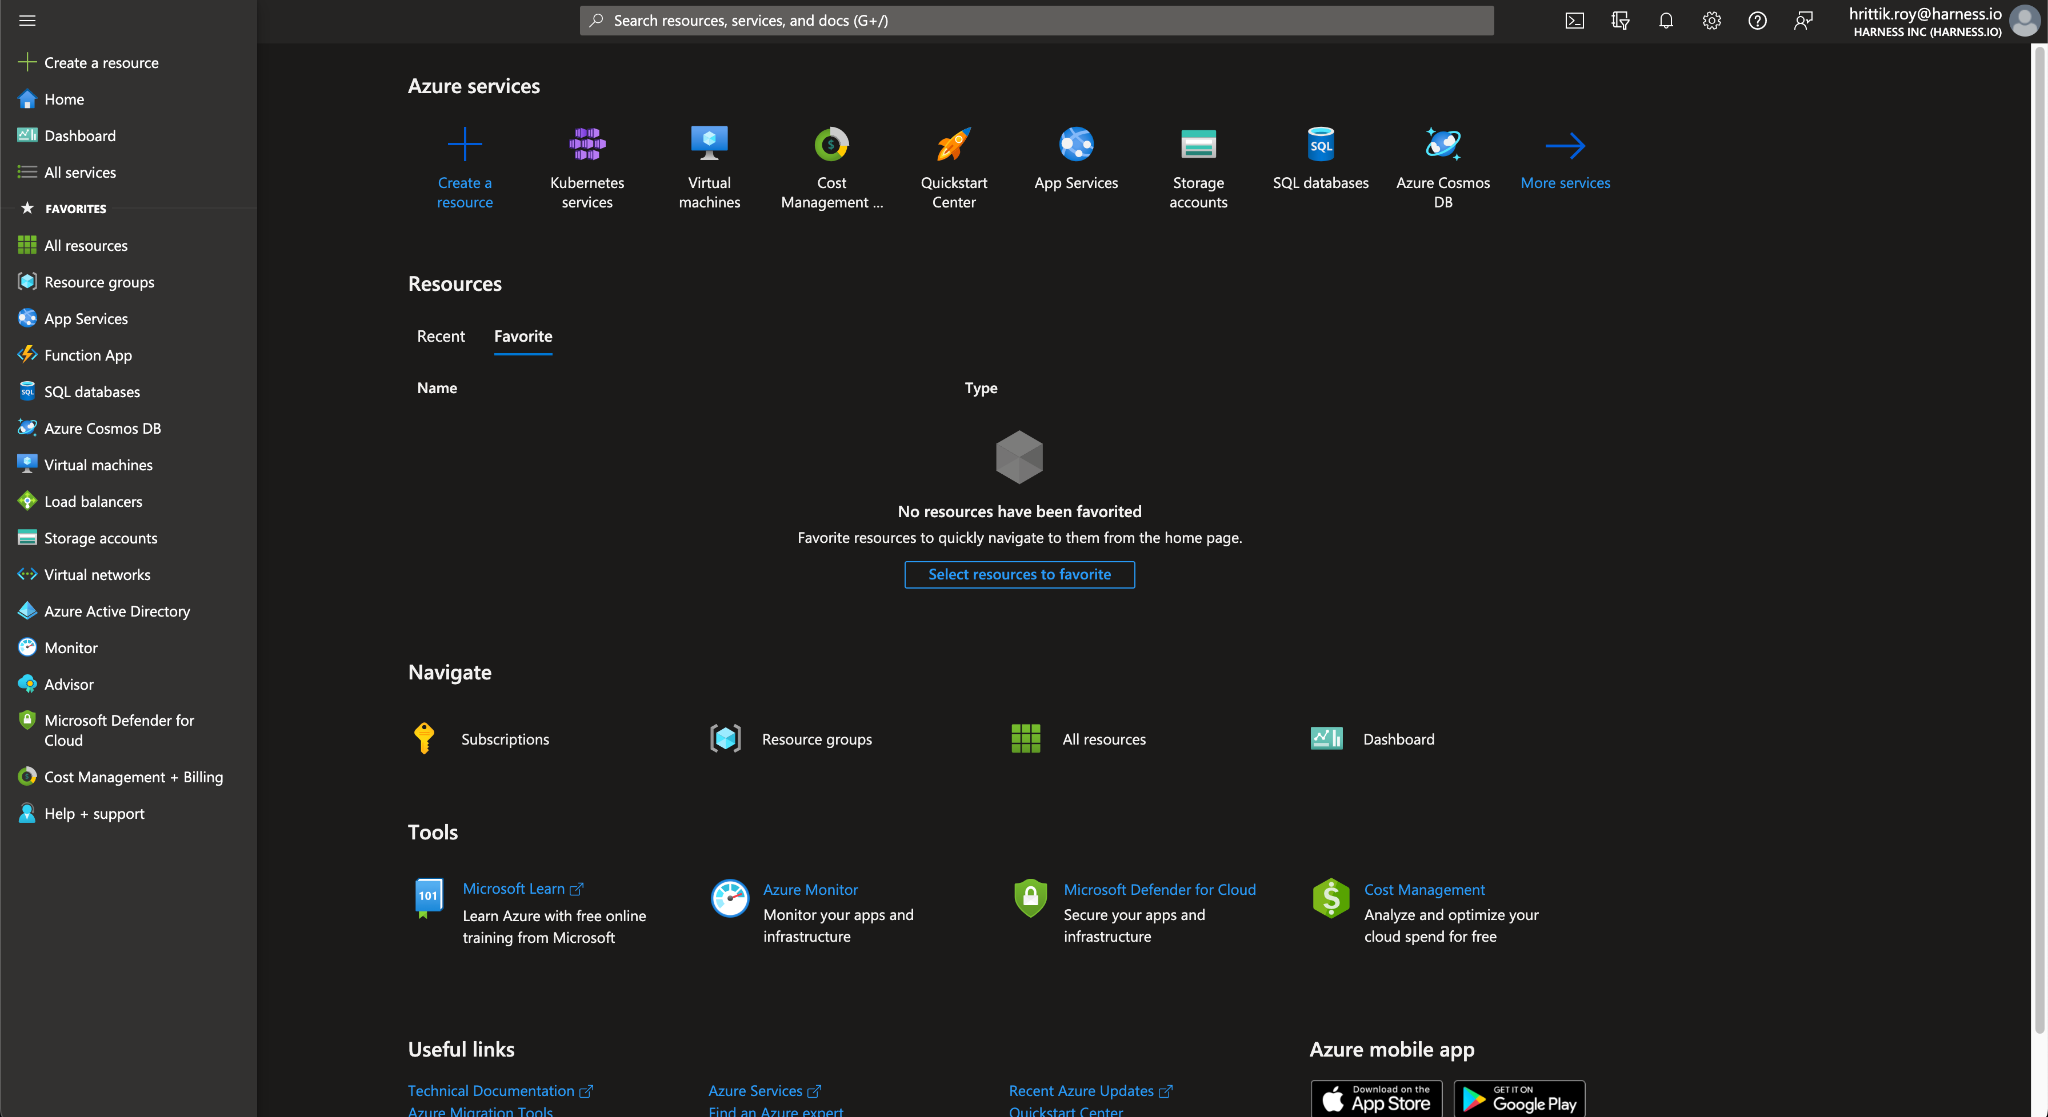
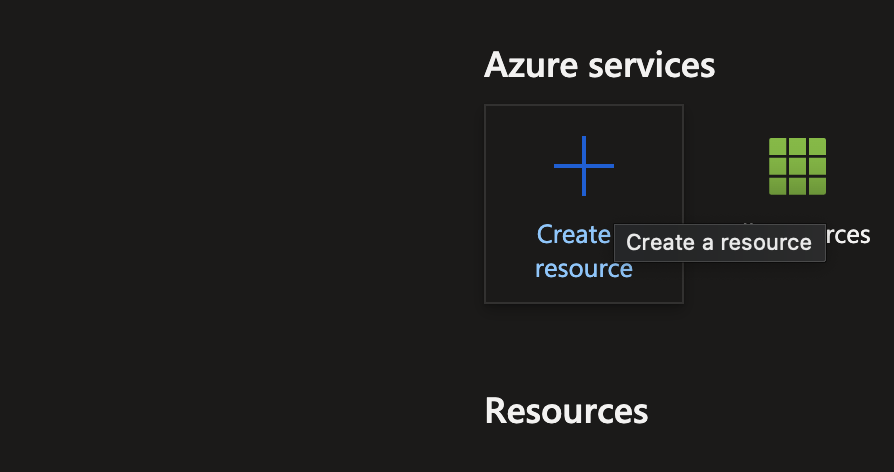
Step 1: Click on Create a Resource after signing in

Create a Resource

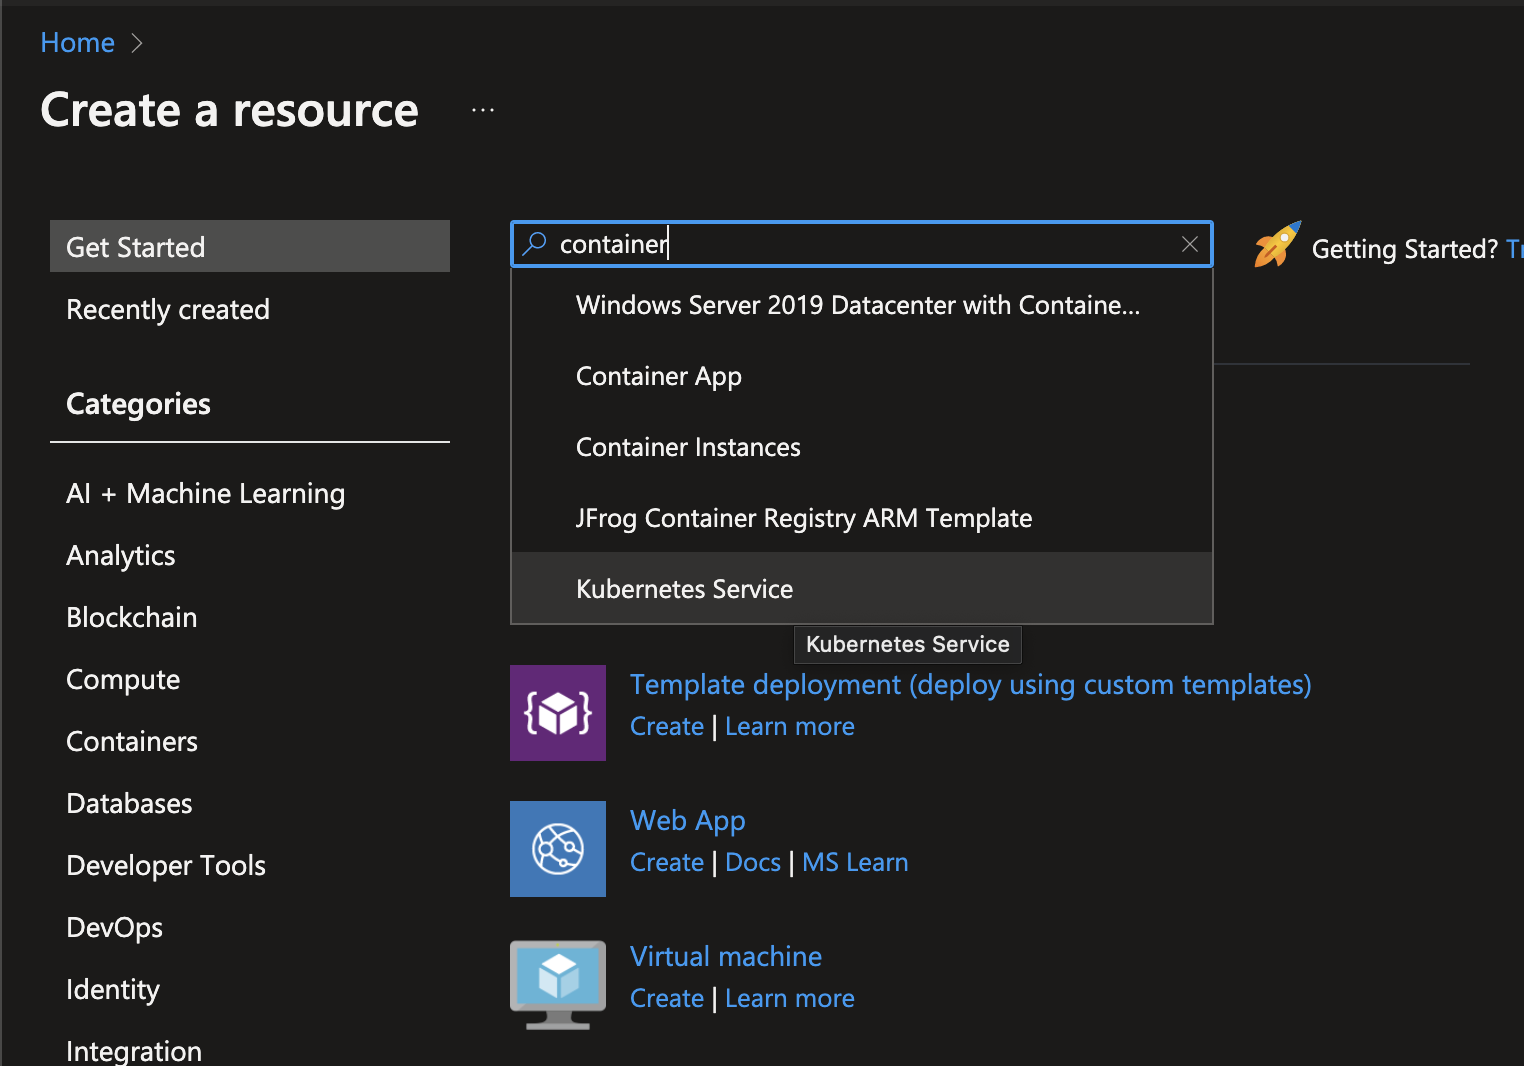
Step 2: Search Container and then click on Kubernetes Service

Find Kubernetes Service

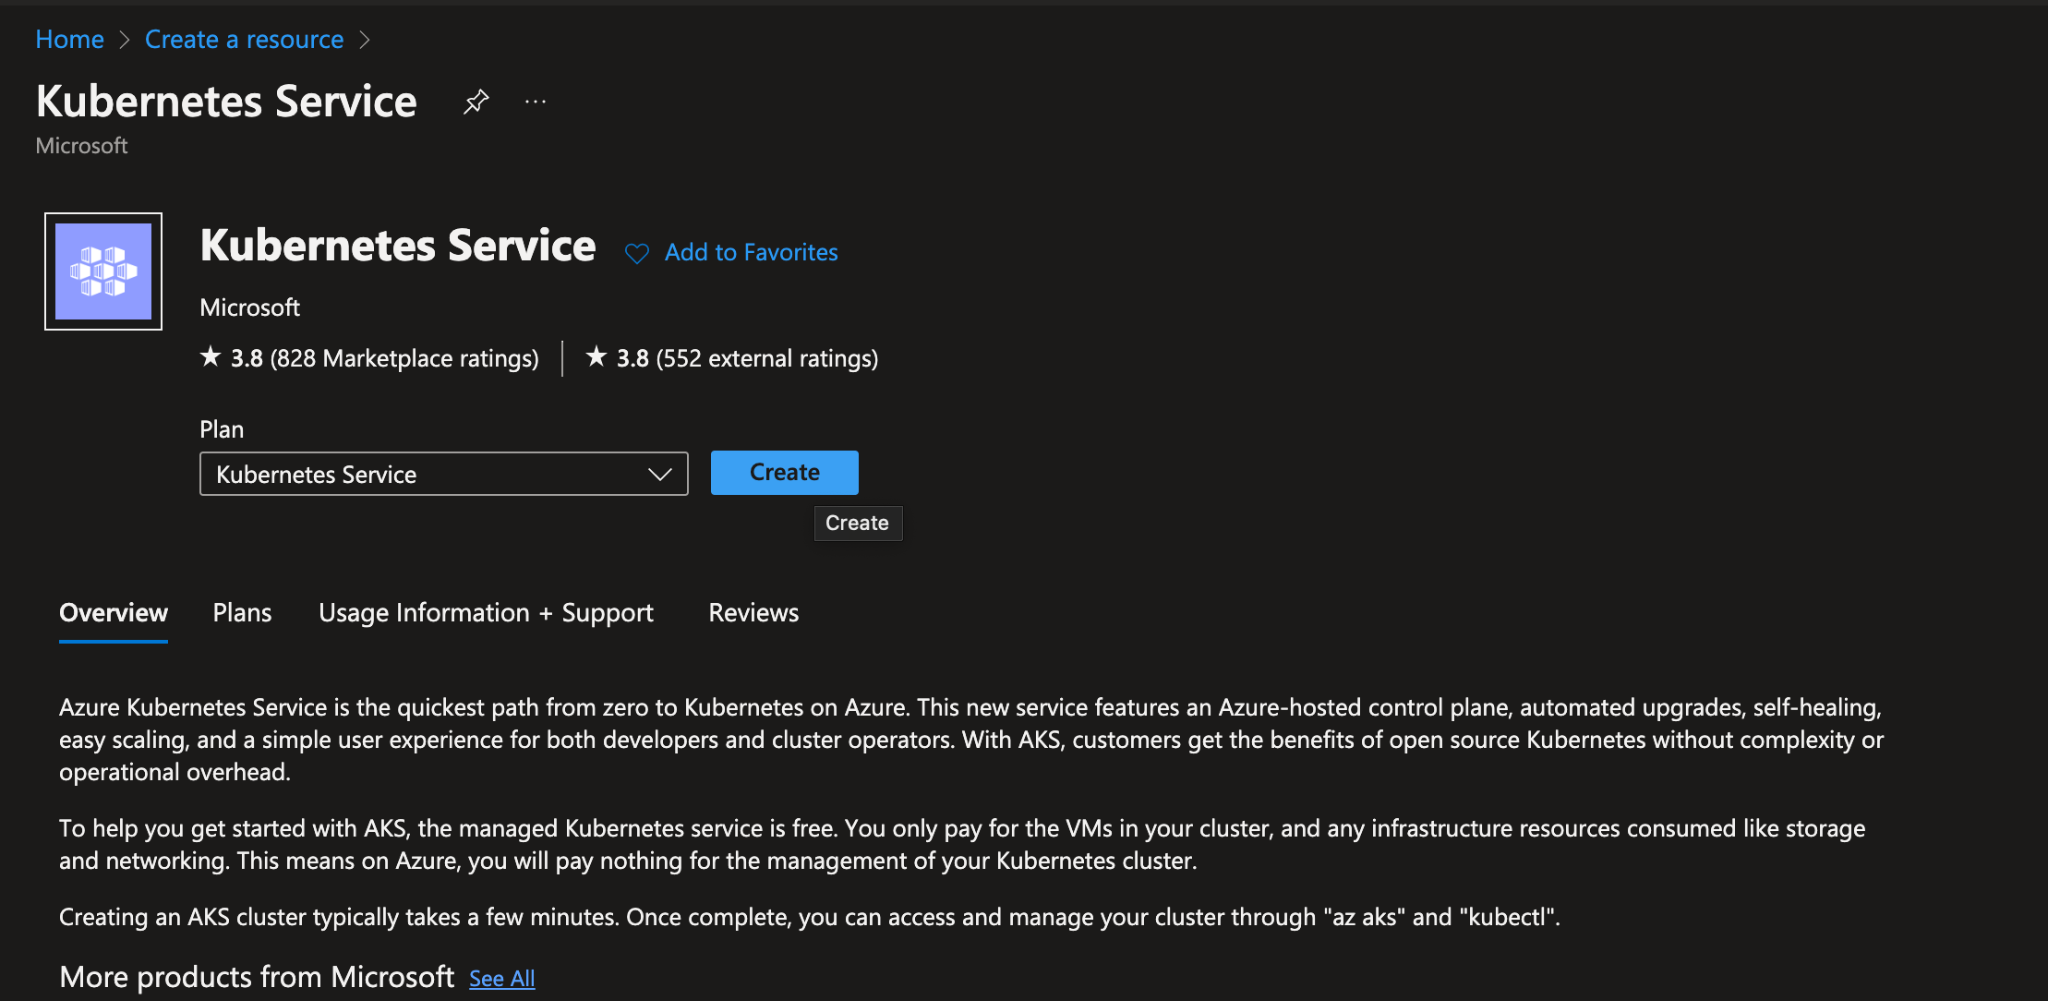
Step 3: Click on Create

Create Kubernetes Service

Step 4: On the Basics page, configure the following options for a Delegate to Run:

  • Project details:
    • Select an Azure Subscription.
    • Select or create an Azure Resource group, such as DelegateGroup.
  • Cluster details:
    • Enter a Kubernetes cluster name, such as myEnviroment.
    • Select a Region for the AKS cluster
    • Select 99.5% for API server availability for lower cost
  • Go to Scale Method and change it to Manual as your account might not have sufficient compute quota for autoscaling. Next change the Node Count to 2 image

Step 5: Start the resource validation by clicking Review + Create on your portal. Once validated, click Create to begin the process of cluster creation. Wait a few minutes for the cluster to deploy.

Connect to your cluster

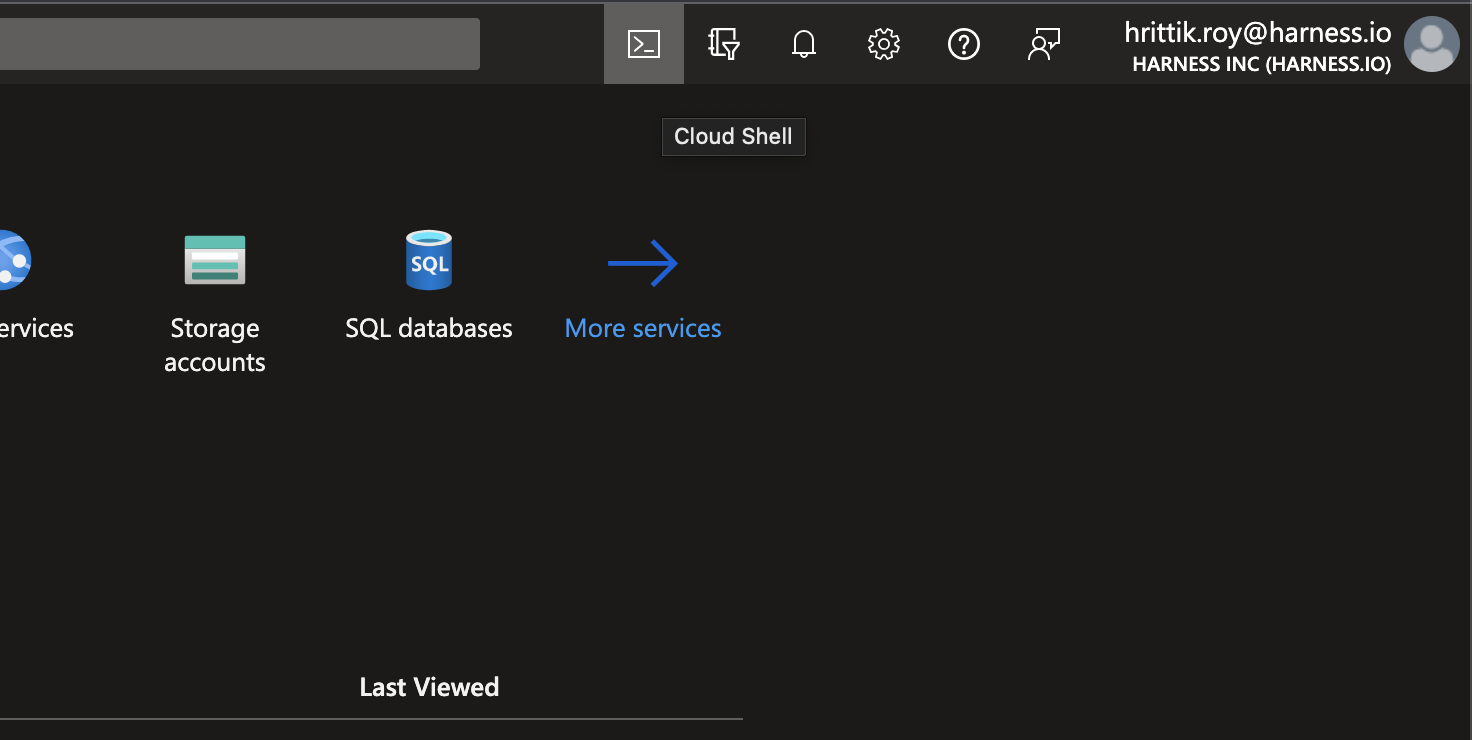
Now, when your cluster is ready you can connect to the Azure Cloud Shel on your portal and open the terminal

Cloud Shell

Navigate to your cluster and click on Connect!

Connect to Cluster

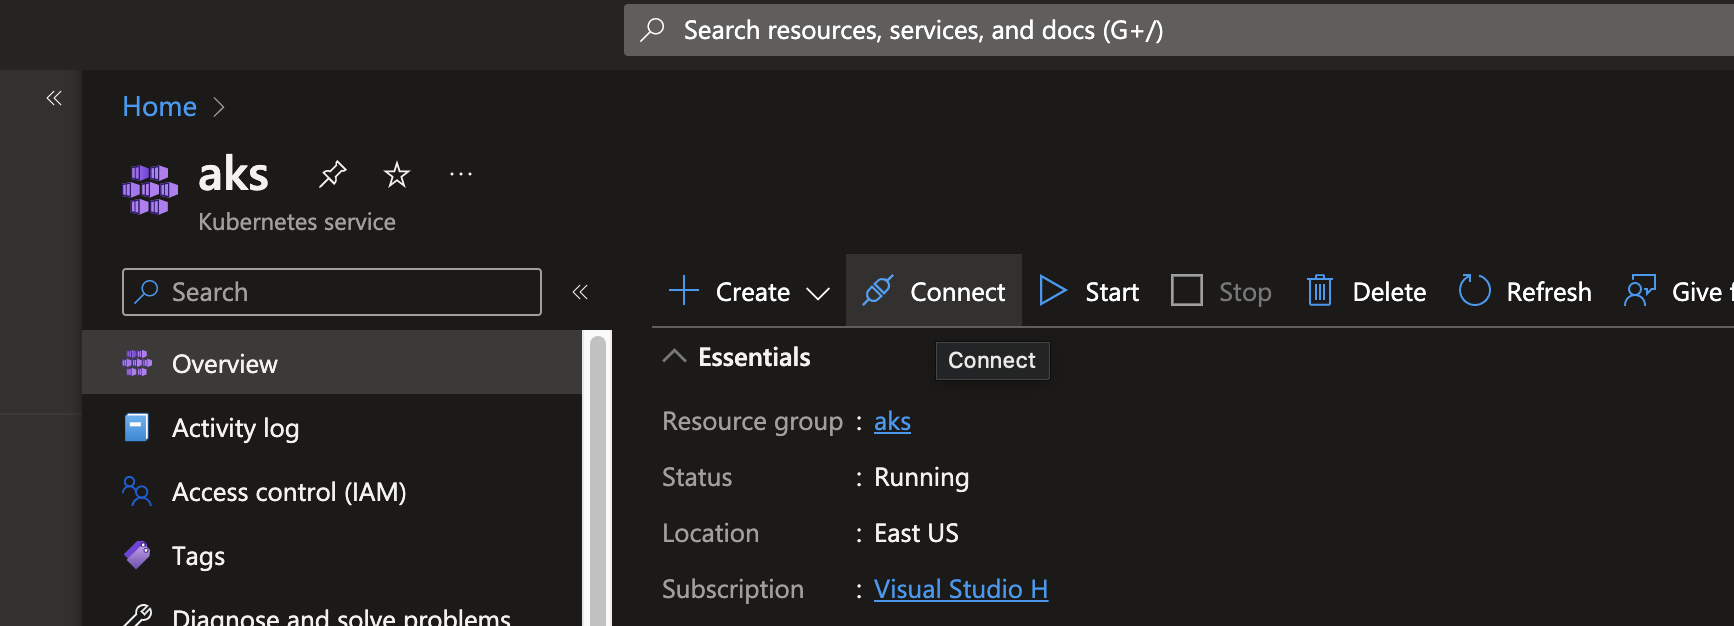
Follow the steps displayed on the right panel and then you can connect to your cluster!

Run kubectl cluster-info to display details on your cluster!

Next Steps

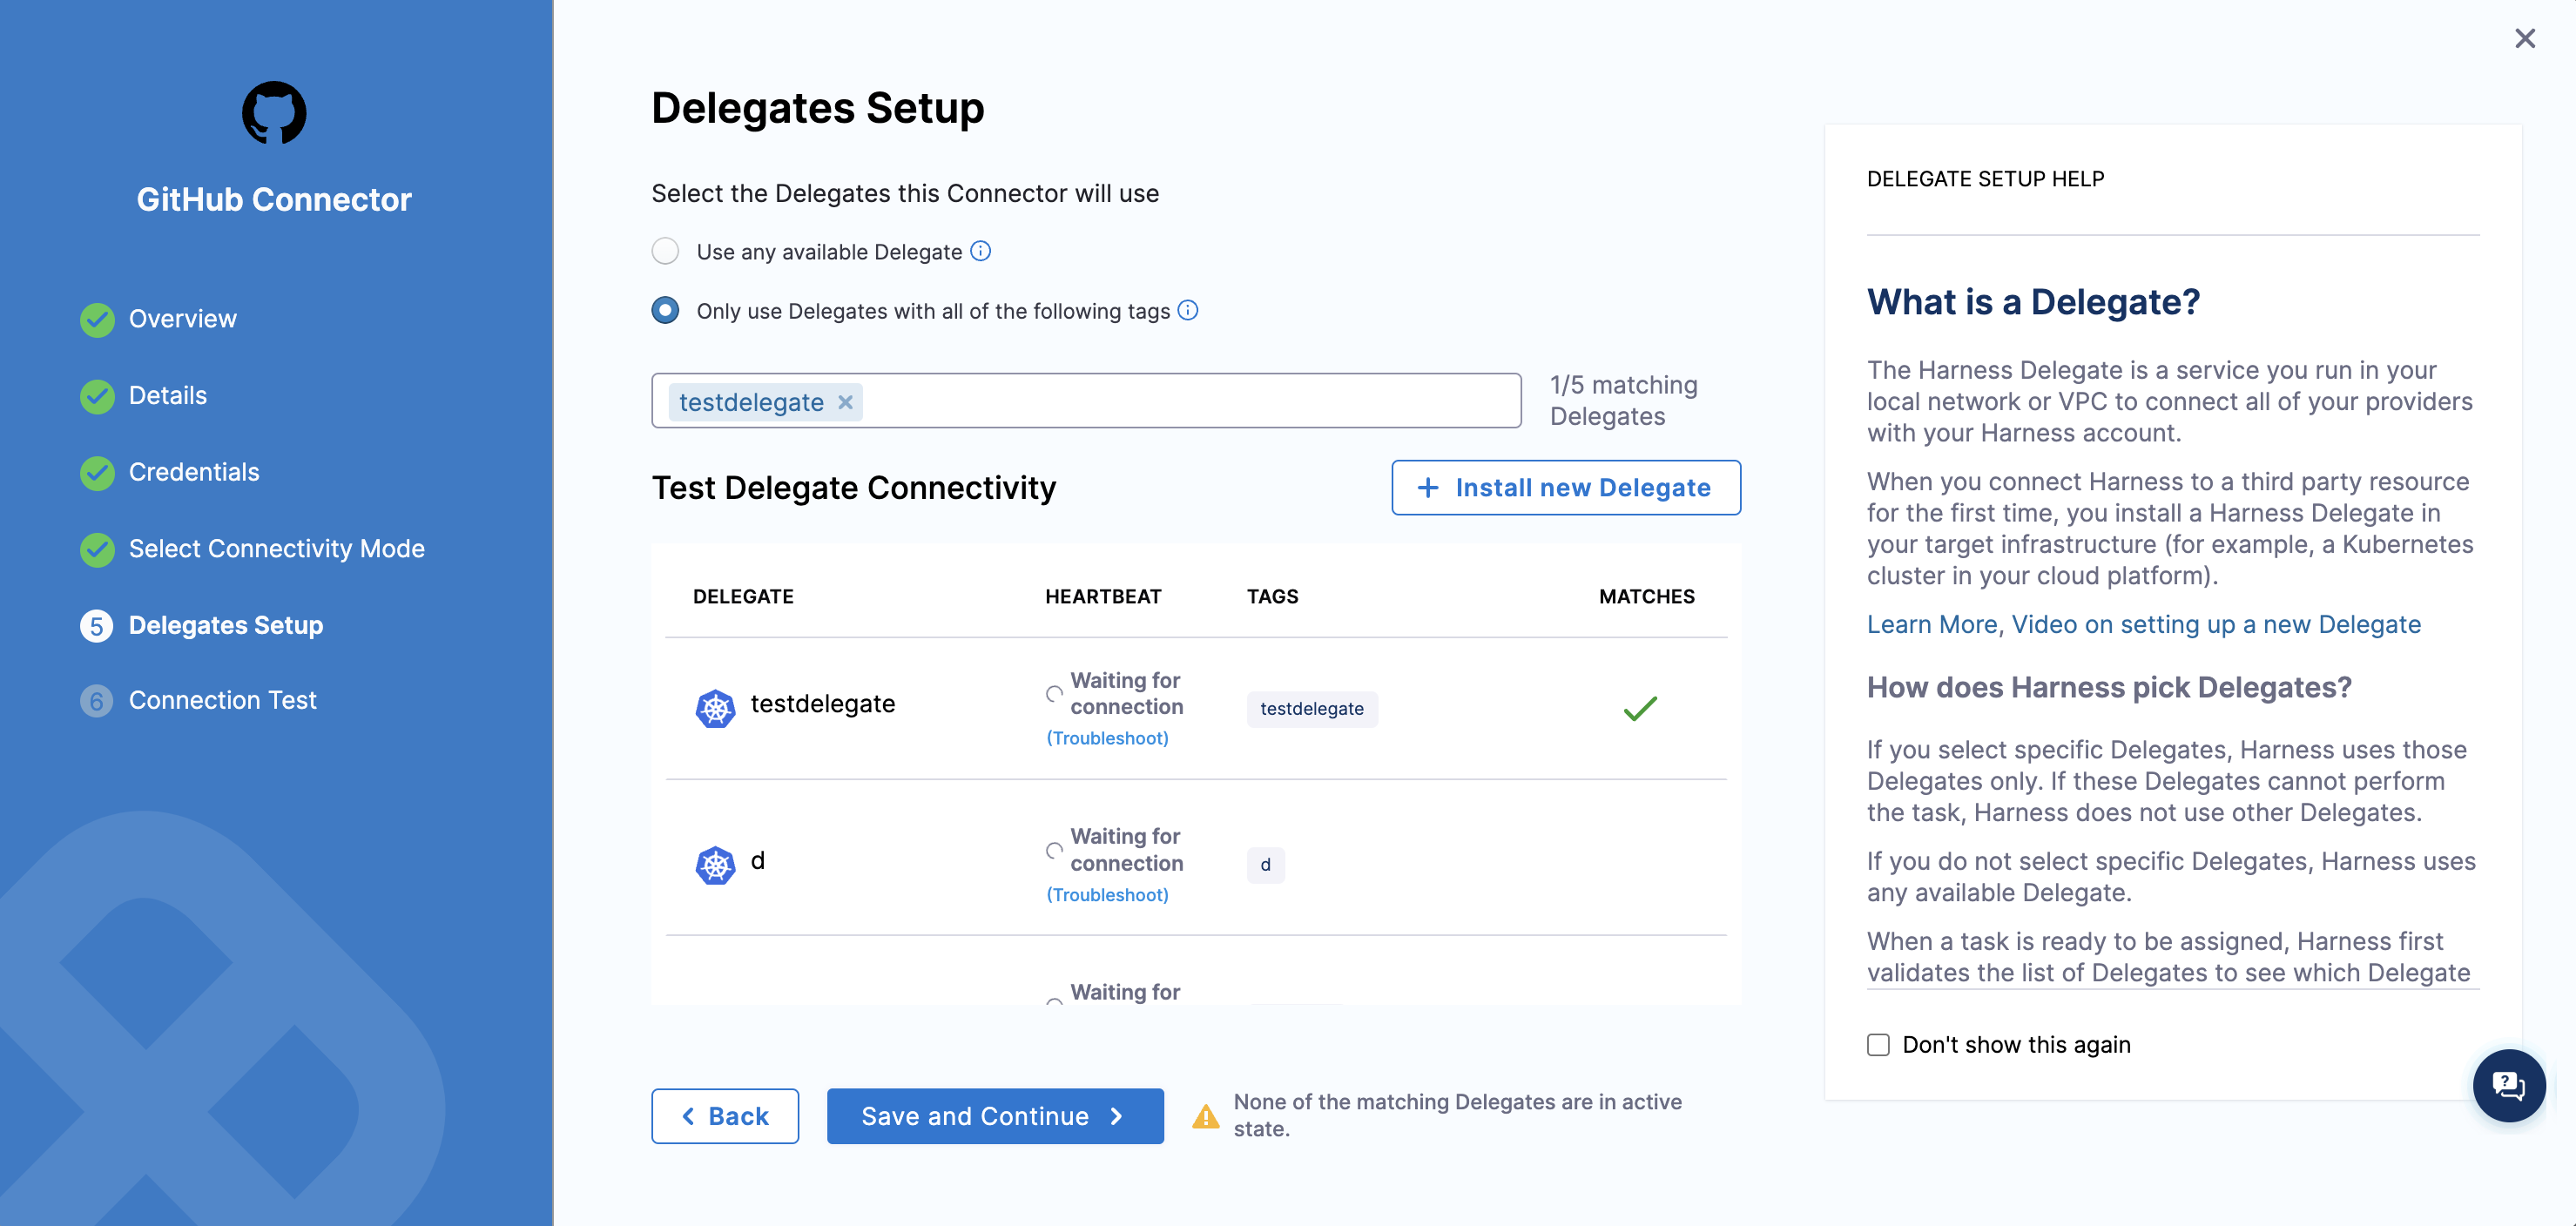
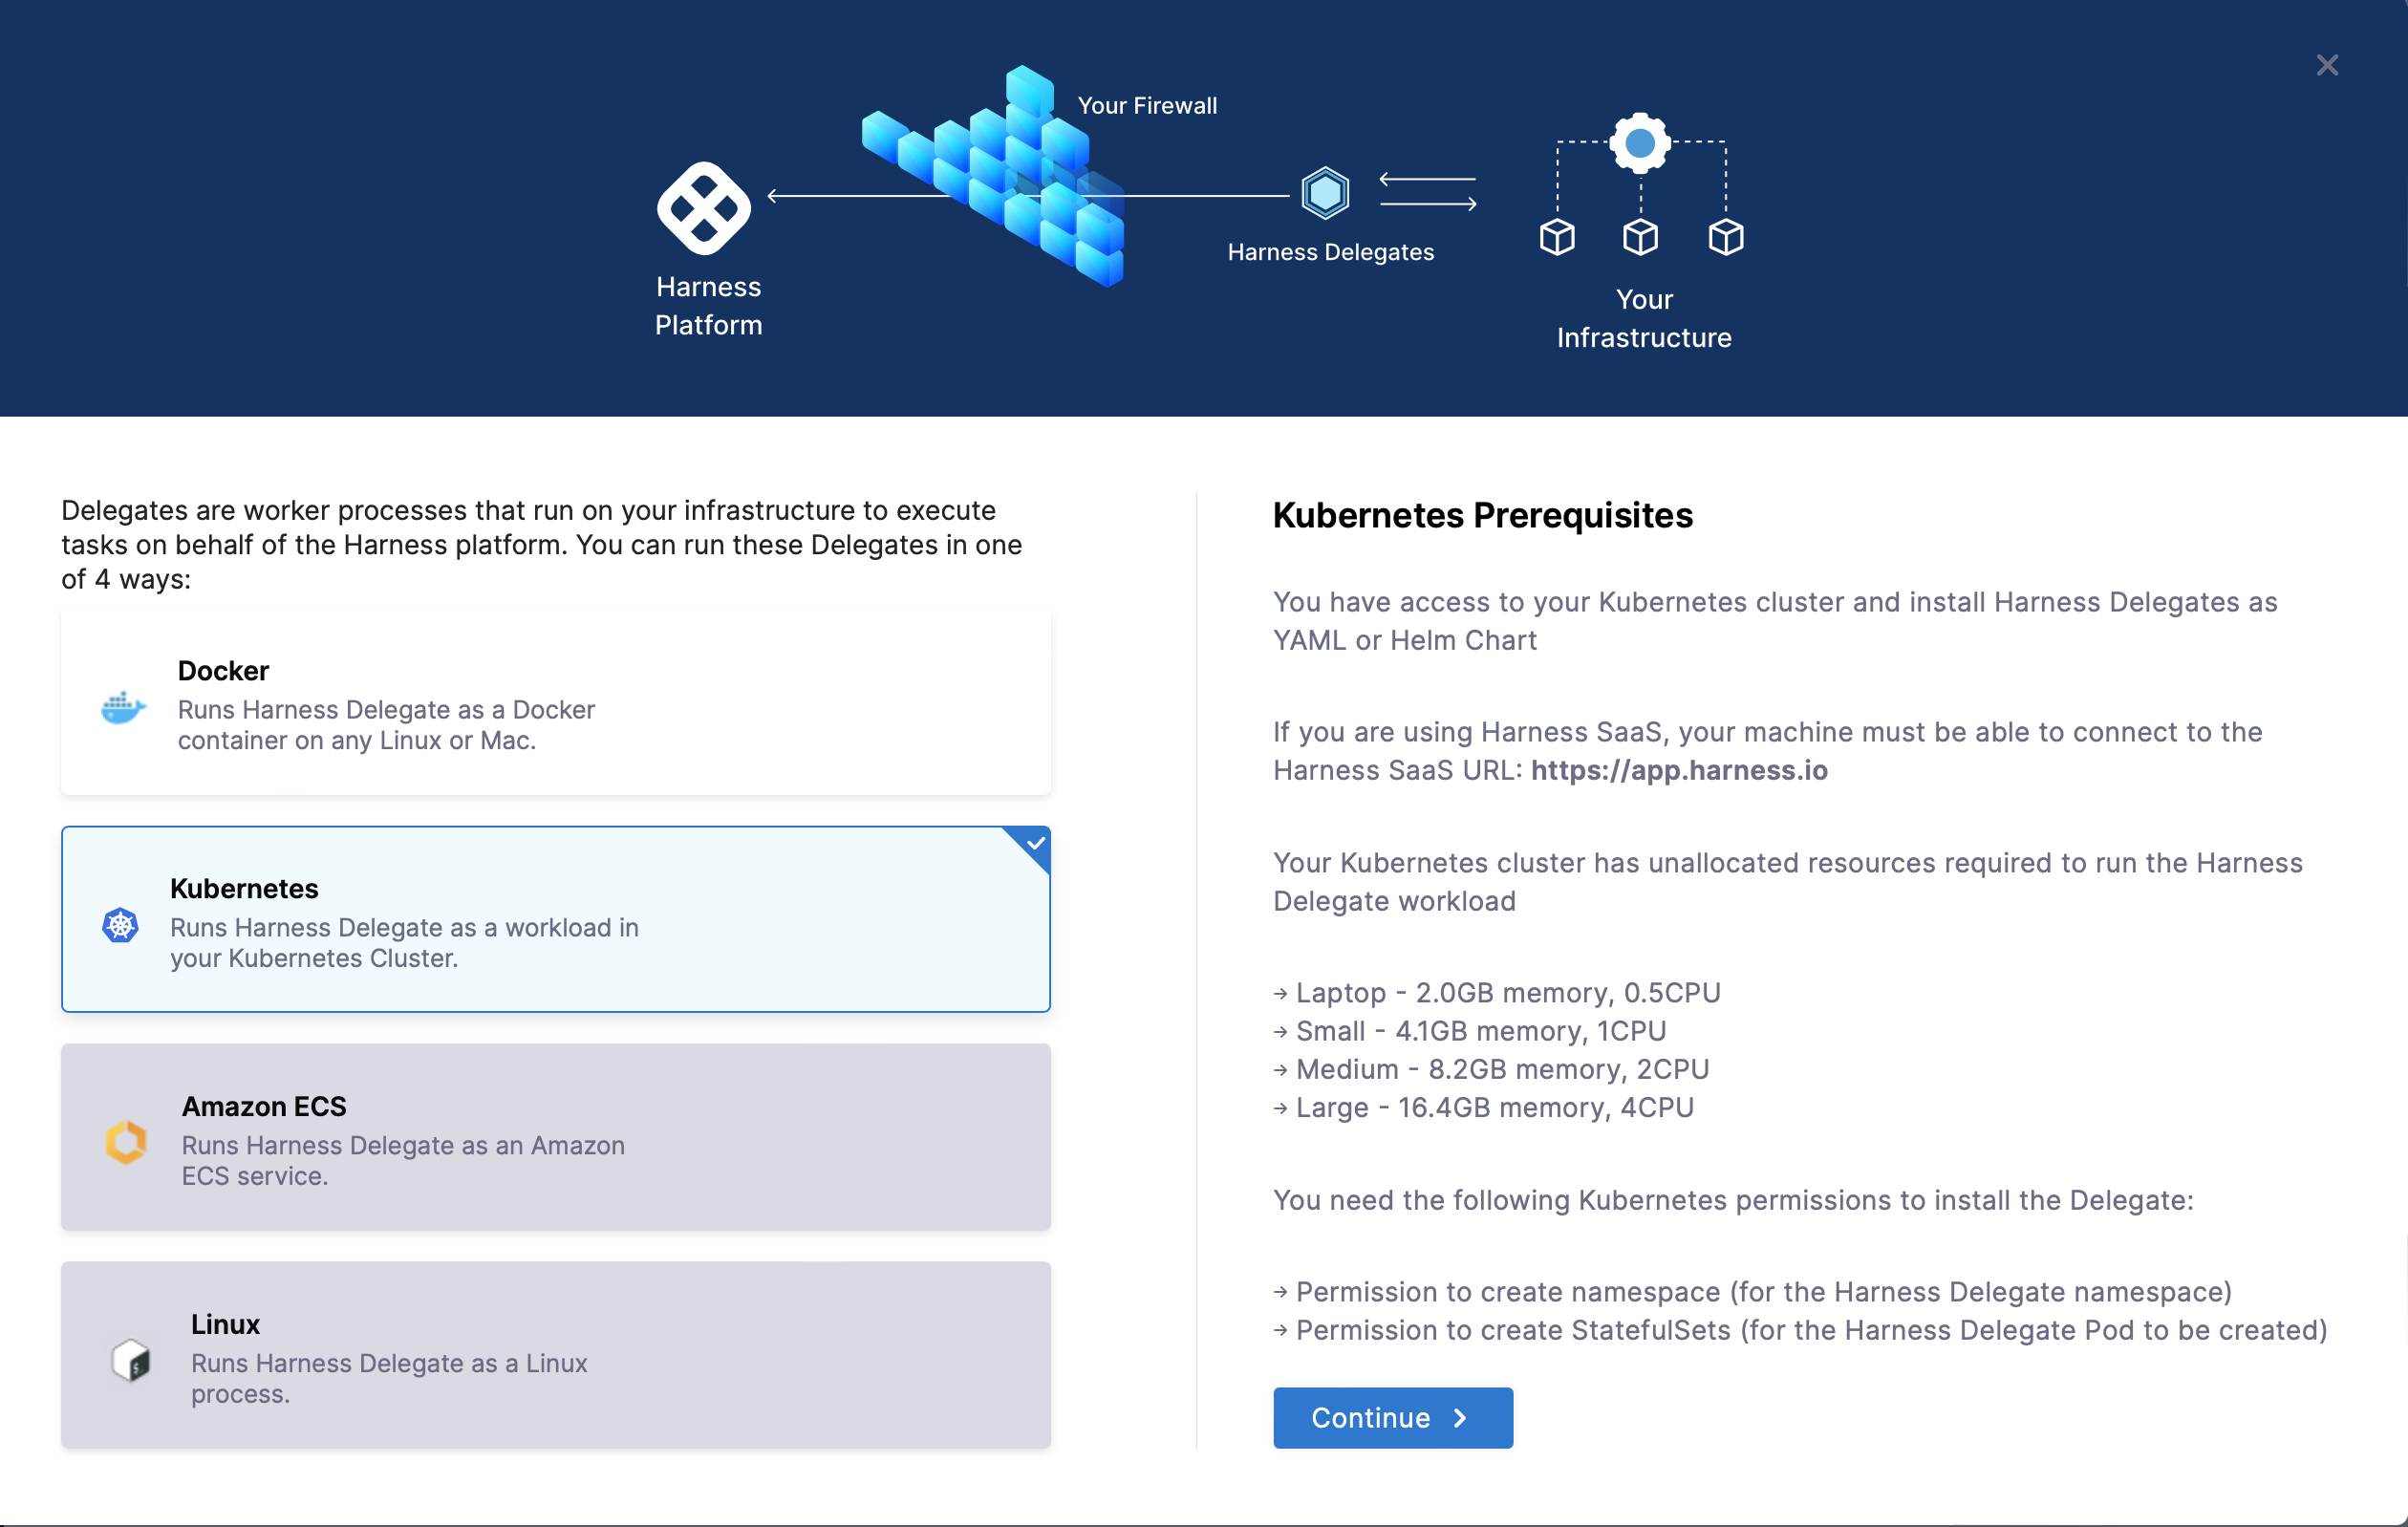
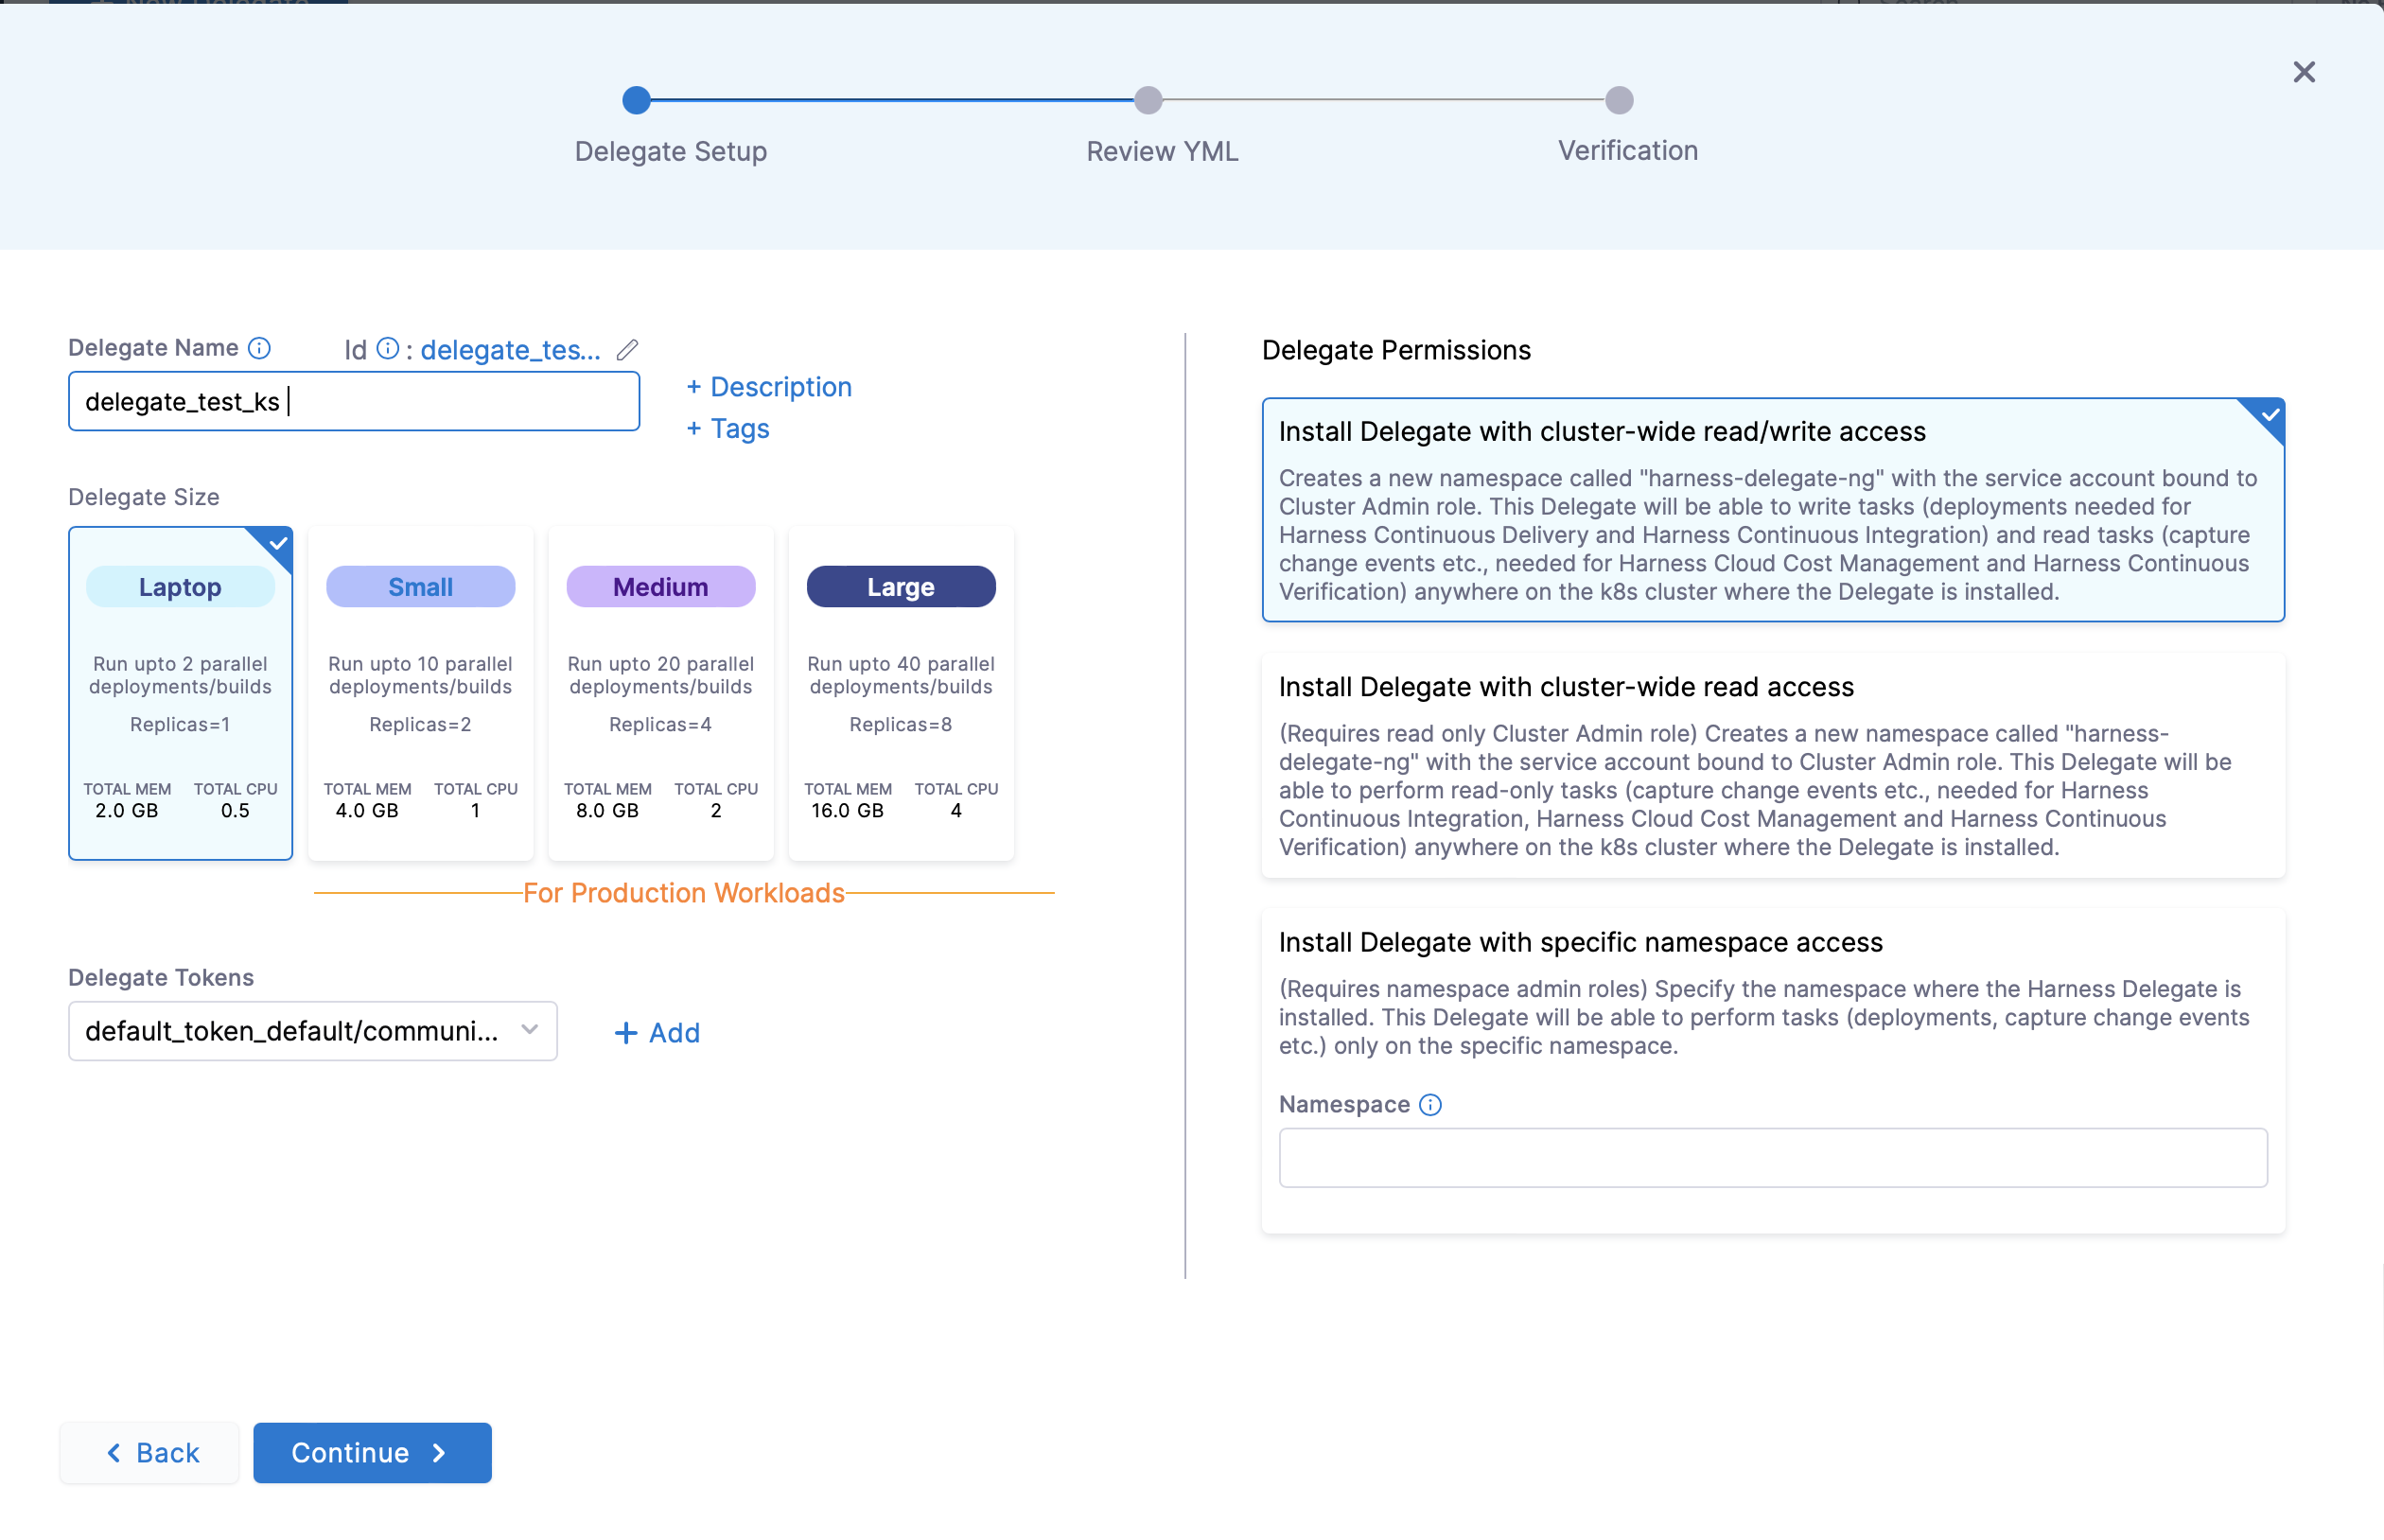
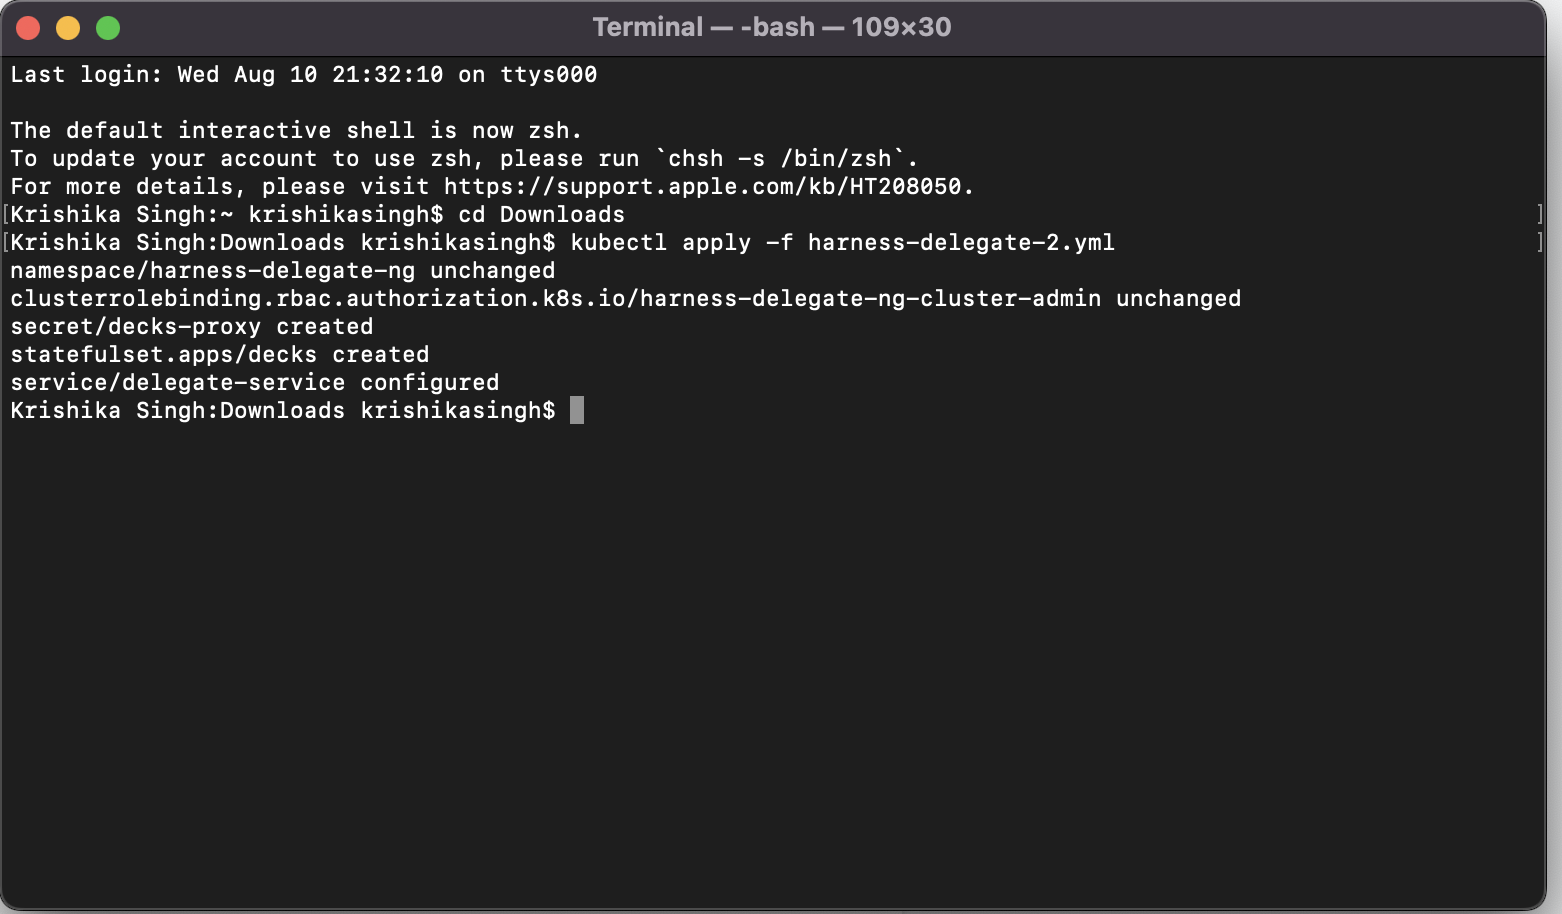
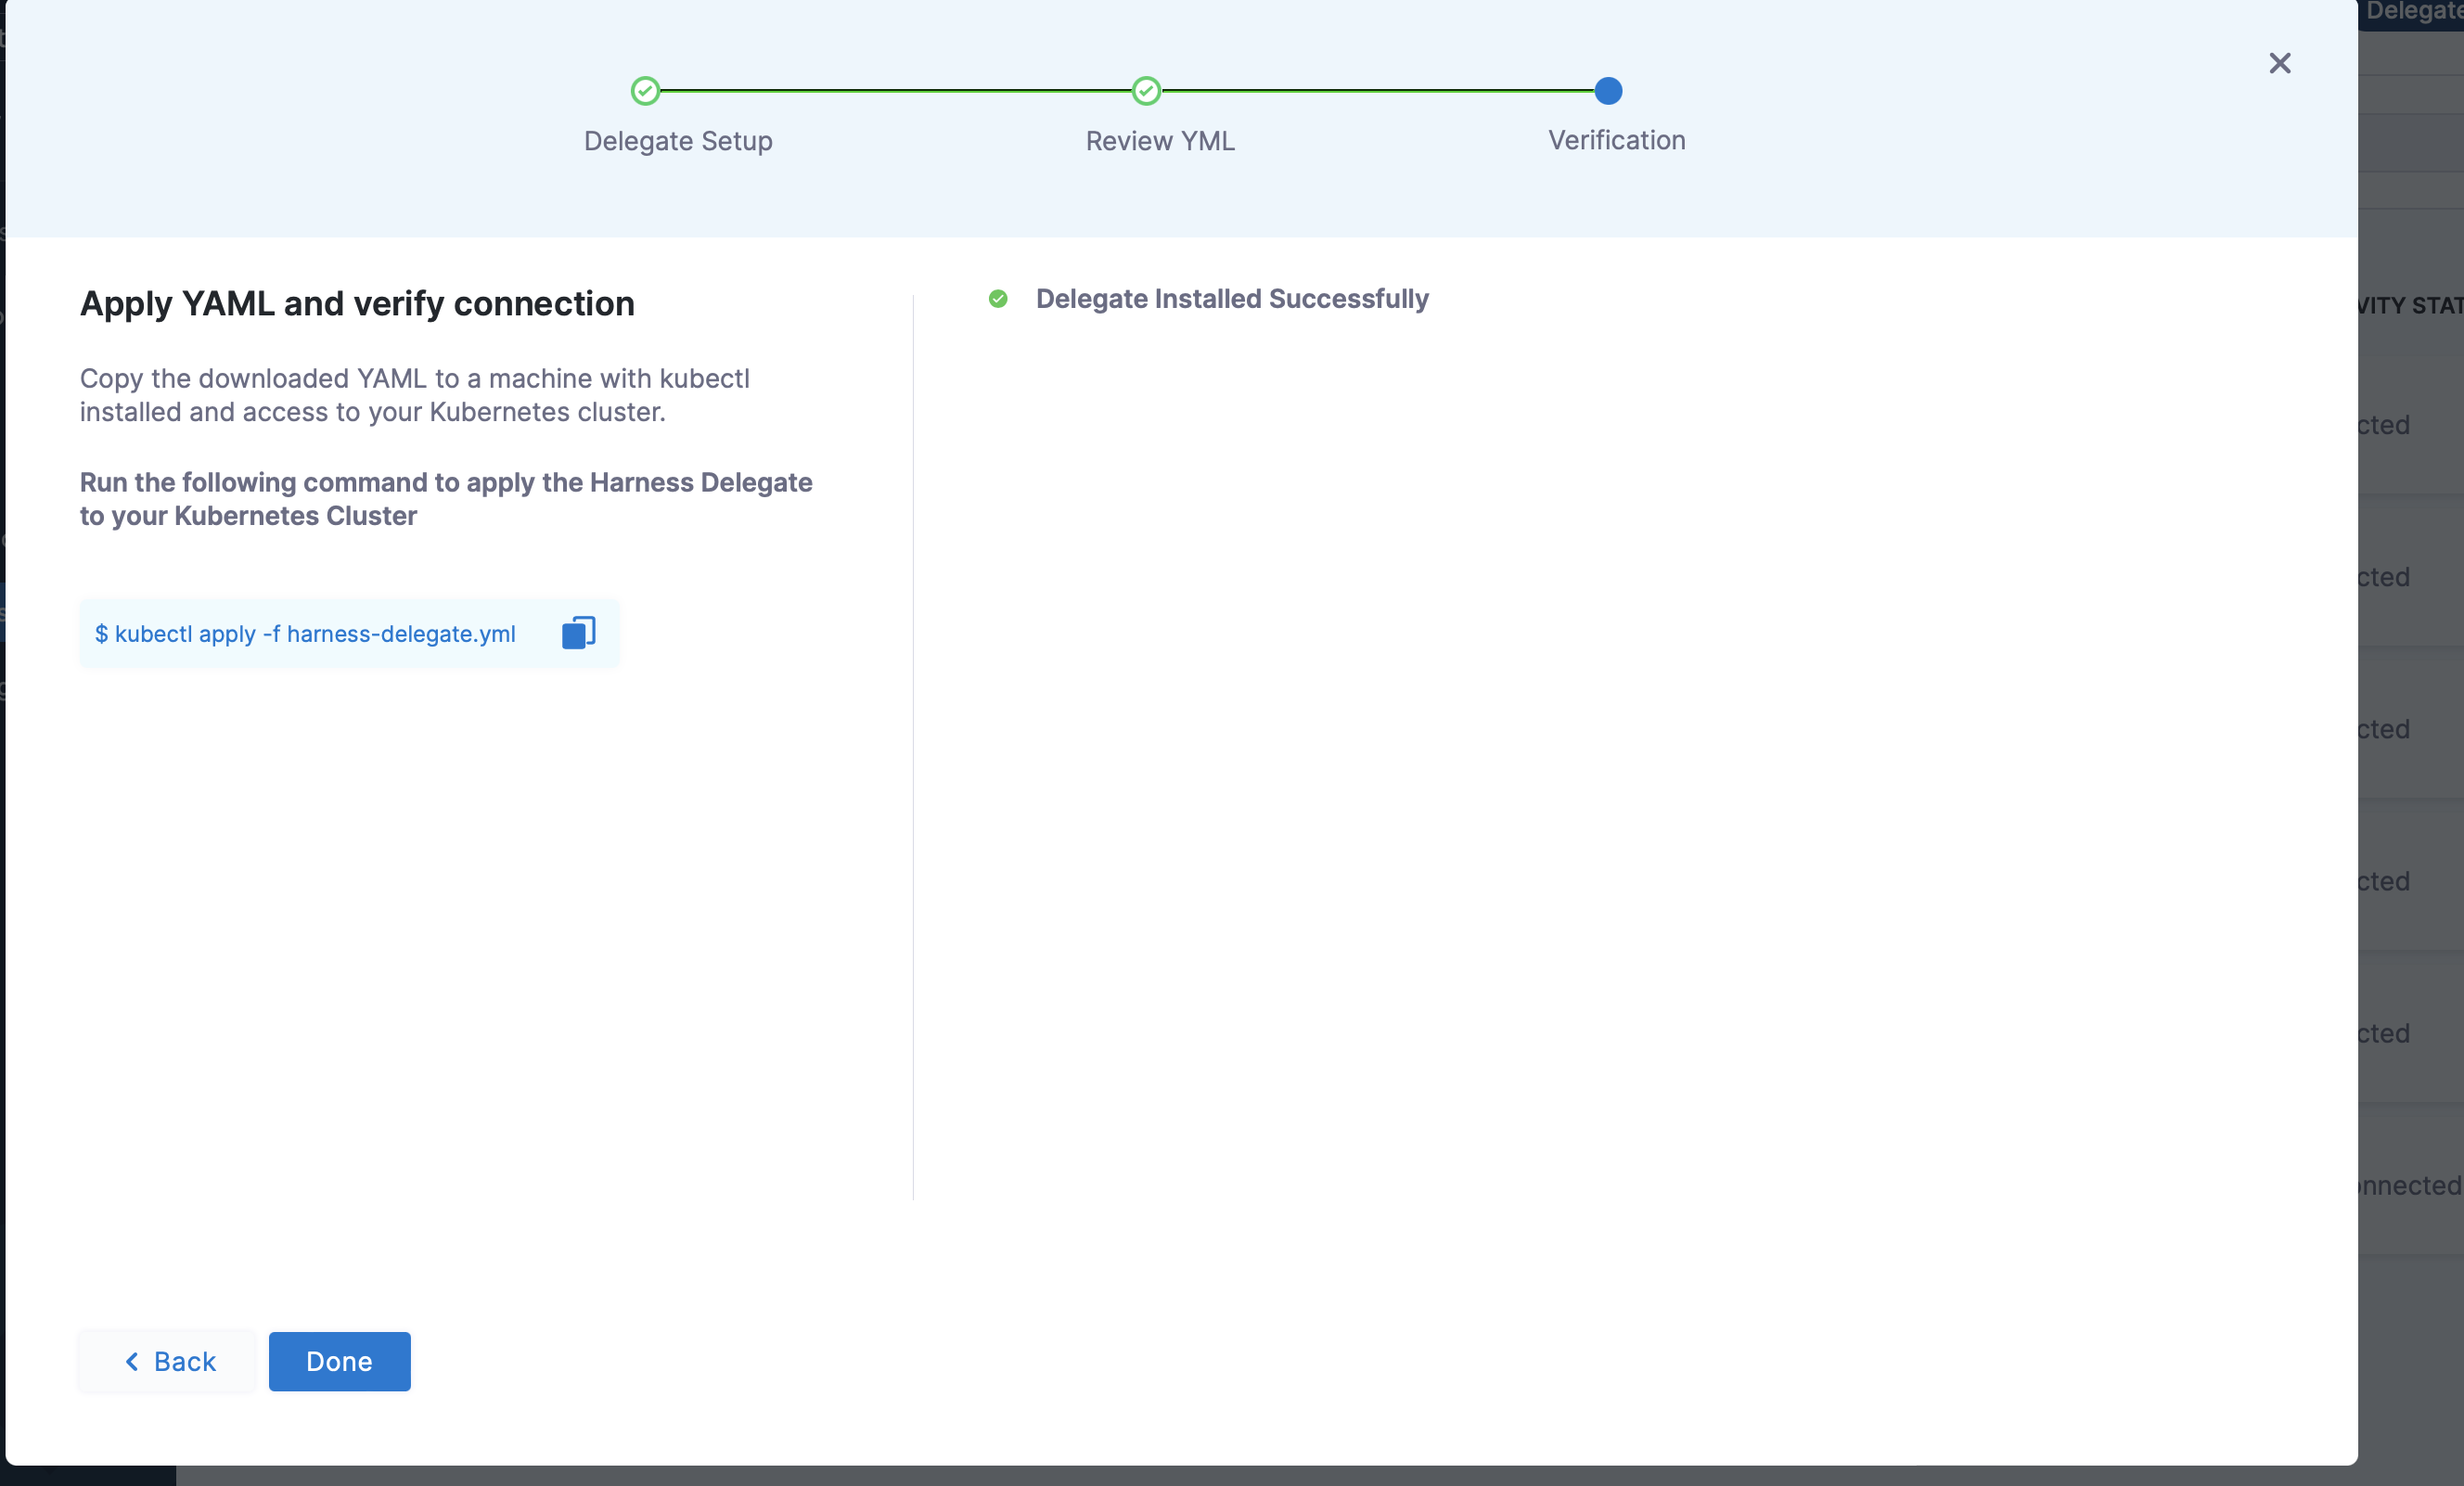
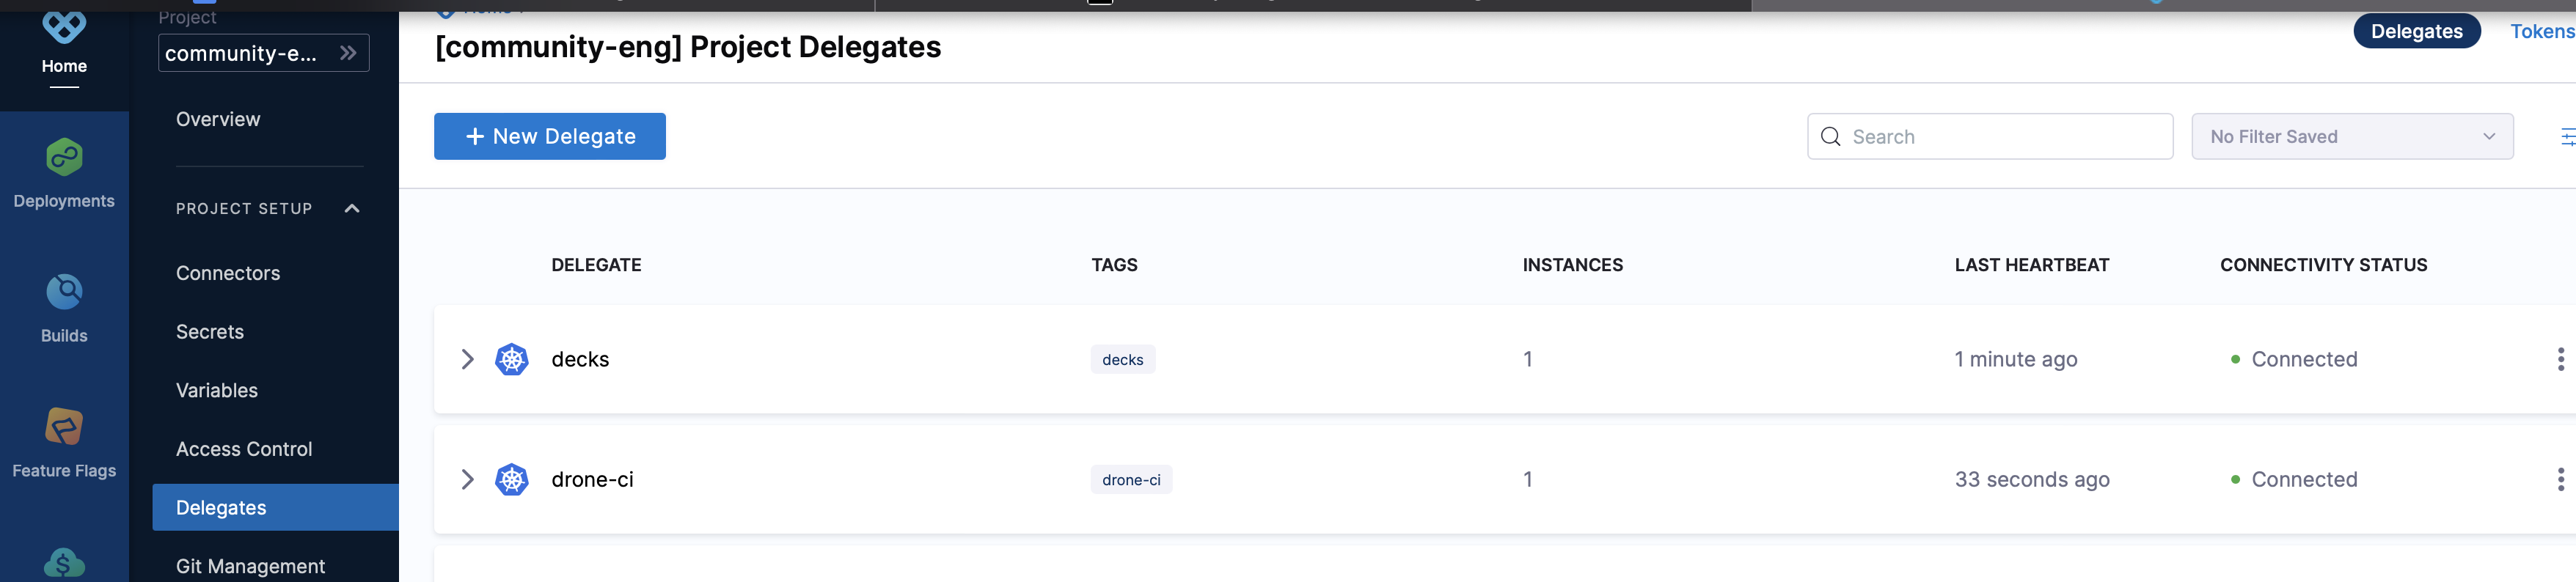
Now that your cluster is operational, you may add resources to it by using the kubectl utility, as you can see. Please use Start Deploying in 5 Minutes with a Delegate-first Approach tutorial to install Delegate at this time and move forward with creating your CI/CD pipeline.

Need further help?

Feel free to ask questions at community.harness.io or join community slack to chat with our engineers in product-specific channels like:

· 3 min read
Debabrata Panigrahi

Are you confused with terminologies like Access Token, Access Control, and Personal Access Token while creating connectors? In this article, we will discuss a few such terminologies on the Harness platform, what they mean and what values should be entered against them.

So, in Harness when you are using CI/CD to build or deploy we need access to your source code repository and the enterprise cloud for deployments, and hence encrypted secrets are asked as input. In this blog, I have focused on the common errors faced by beginners while trying to setup GitHub connectors.

To begin with:

  1. Select new connector and from the new connector tab select Github under Code Repositories

    Connector Location

  2. Now it’s time to give a name to your connector, but there’s some entity name convention which you need to follow while naming it. Some common errors observed here are : For ease of understanding across orgs and easy identification, you can also add tags and give an apt description to your connector.

    ![Overview](./overview.png)
  3. It’s time for one of the most confusing steps of the process, giving the exact address for your connector which comes in two levels

    1. Account
    2. Repository

    What’s most intriguing and that first time user’s like me, made a mistake in selecting the connection type, so the suggested method is HTTP for first timers for ease of use and you can fetch this URL for your repository directly from the search bar of your browser or from local clone information available in the repository, which has the following format https://github.com/<account-name> for account URL’s type and https://github.com/<account-name>/<repository-name> for Repository URLs.

    Details

  4. Now, it’s time to add credentials, which are required for the authentication to GitHub repository.

    Credentials

    The value in the username field is the same as your GitHub username, and now the most crucial step of adding credentials, is adding the Personal Access Token as a secret, for that, you need to generate the PAT for your account by allowing adequate repo source control permission, which could be done by following the steps here. Further if you already have a PAT as a secret you could just skip to selecting the same, or else you need to add the generated PAT by selecting the “+New Secrets” and mentioning the PAT under the “Secret Value” field.

    Secrets

    Be careful not to add your GitHub password under the secrets for GitHub, as some users tend to do this and the connector fails to connect.

  5. Now while connecting to the provider it’s suggested to go for the connect through delegate step as it would allow delegates to perform tasks for you based on your requirements.

    Delegate-Setup

  6. Going further to the Delegate Setup step, I would suggest using any available delegate as a beginner, or if you want to use a particular delegate, select the same and click on the empty field under the same to select and add the delegates.

  7. What’s important to consider here is if you’re an absolute beginner using Harness for the first time, or have never created a delegate, please consider creating a delegate first by selecting the “Install new delegate” and following the resources mentioned here, to move forward and add a connector.

Need further help? Feel free to ask questions at community.harness.io or join community slack to chat with our engineers in product-specific channels like:

  1. #continuous-delivery Get support regarding the CD Module of Harness.
  2. #continuous-integration Get support regarding the CI Module of Harness.

· 3 min read
Krishika Singh

Before we begin :

Let us understand what do we mean by delegates and why is it needed

A Harness delegate is a software that you install in your deployment target environment such as local network ,VPC,or cluster and run as a service.The delegate performs all operations including deployment and integration. The delegate connects all your artifacts,infrastructure,collaboration,verification and other providers with the Harness Manager.

Below we have discussed the detailed explanation of how we can install Kubernetes(K8s) delegate.

Prerequisites

  • Hypervisor technology (VirtualBox, VMWare, etc) is a mandate pre-requisite for Minikube and we have to choose the right one based on the platform we are on.

    Prequisites for minikube

  • Installation section in the Minikube Getting Started documentation is well crafted and has steps for all Linux, Mac & Windows along with the architecture and installer type details and the user just has to choose the required details, get the commands and run them!

    Installing Minikube.

  • Minikube will download the required kubectl as part of the installation and configures it.

Installing Harness Delegate

  • Go to Harness

  • Go to Builds and under Project setup click delegates and then click on new delegates delegate

  • Click on kubernetes

    kubernetes

  • Name your delegate and select the size of delegate and also select delegate permissions. Please follow the correct naming convention for naming a delegate.

    • It will show error when you insert any special characters except ‘-’ and make sure name should not start or end with a number delegate

NOTE:These sizing requirements are for the Delegate only.Your cluster will require more memory for Kubernetes, the operating system, and other services,preferably one should have double the memory and node present in the cluster than that of required for the delegate for smooth functioning.

  • Download the yaml file yaml

  • After clicking on continue open the new terminal and open the directory where you have downloaded the yaml file and then run the following command:

    kubectl apply -f harness-delegate.yml

    download

  • It may take few minutes for verification,after successful installation of delegate following message will be displayed:

download2

  • You can go to the delegate section in the project setup and see the delegate you have installed:

delegate option

  • You can also delete your delegate when no longer in use

Note: Our Kubernetes Delegates are immutable , that is you can only create and delete the delegate but you can’t make any changes to them.