
This tutorial aims at enabling users to set up a Kubernetes cluster on AWS and will serve as the foundation for your CI/CD pipeline infrastructure. After the infrastructure is ready on a free account, you can proceed to create and install a Delegate.
Credits for AWS
To avail free credits in AWS please follow the following resources:
- AWS Credits: How To Obtain Free Credits for Your Startup?
- How to Get Free AWS Credits: 4 Tactics to Use
If you are a student please sign in using AWS Educate
Note: Under the AWS Free tier the EKS service is not available, so it’s suggested to get some free credits and use them for EKS.
Pre-requisites:
There are certain requirements in terms of access and permissions and memory resources for the delegate to function properly.
Creating a Cluster:
Considering you are a first-time user, please consider the following specifications along with the above prerequisites, while creating a cluster:
- Number of nodes: minimum of 3.
- Machine type: 4vCPU
- Memory: 12GB RAM and 6GB Disk Space. 8GB RAM is for the Delegate. The remaining memory is for Kubernetes and containers.
- Networking: Outbound HTTPS for the Harness connection, and to connect to any container image repo. Allow TCP port 22 for SSH.
For creating a cluster follow the steps mentioned in the documentation, also you can take the help of the demo in the video below.
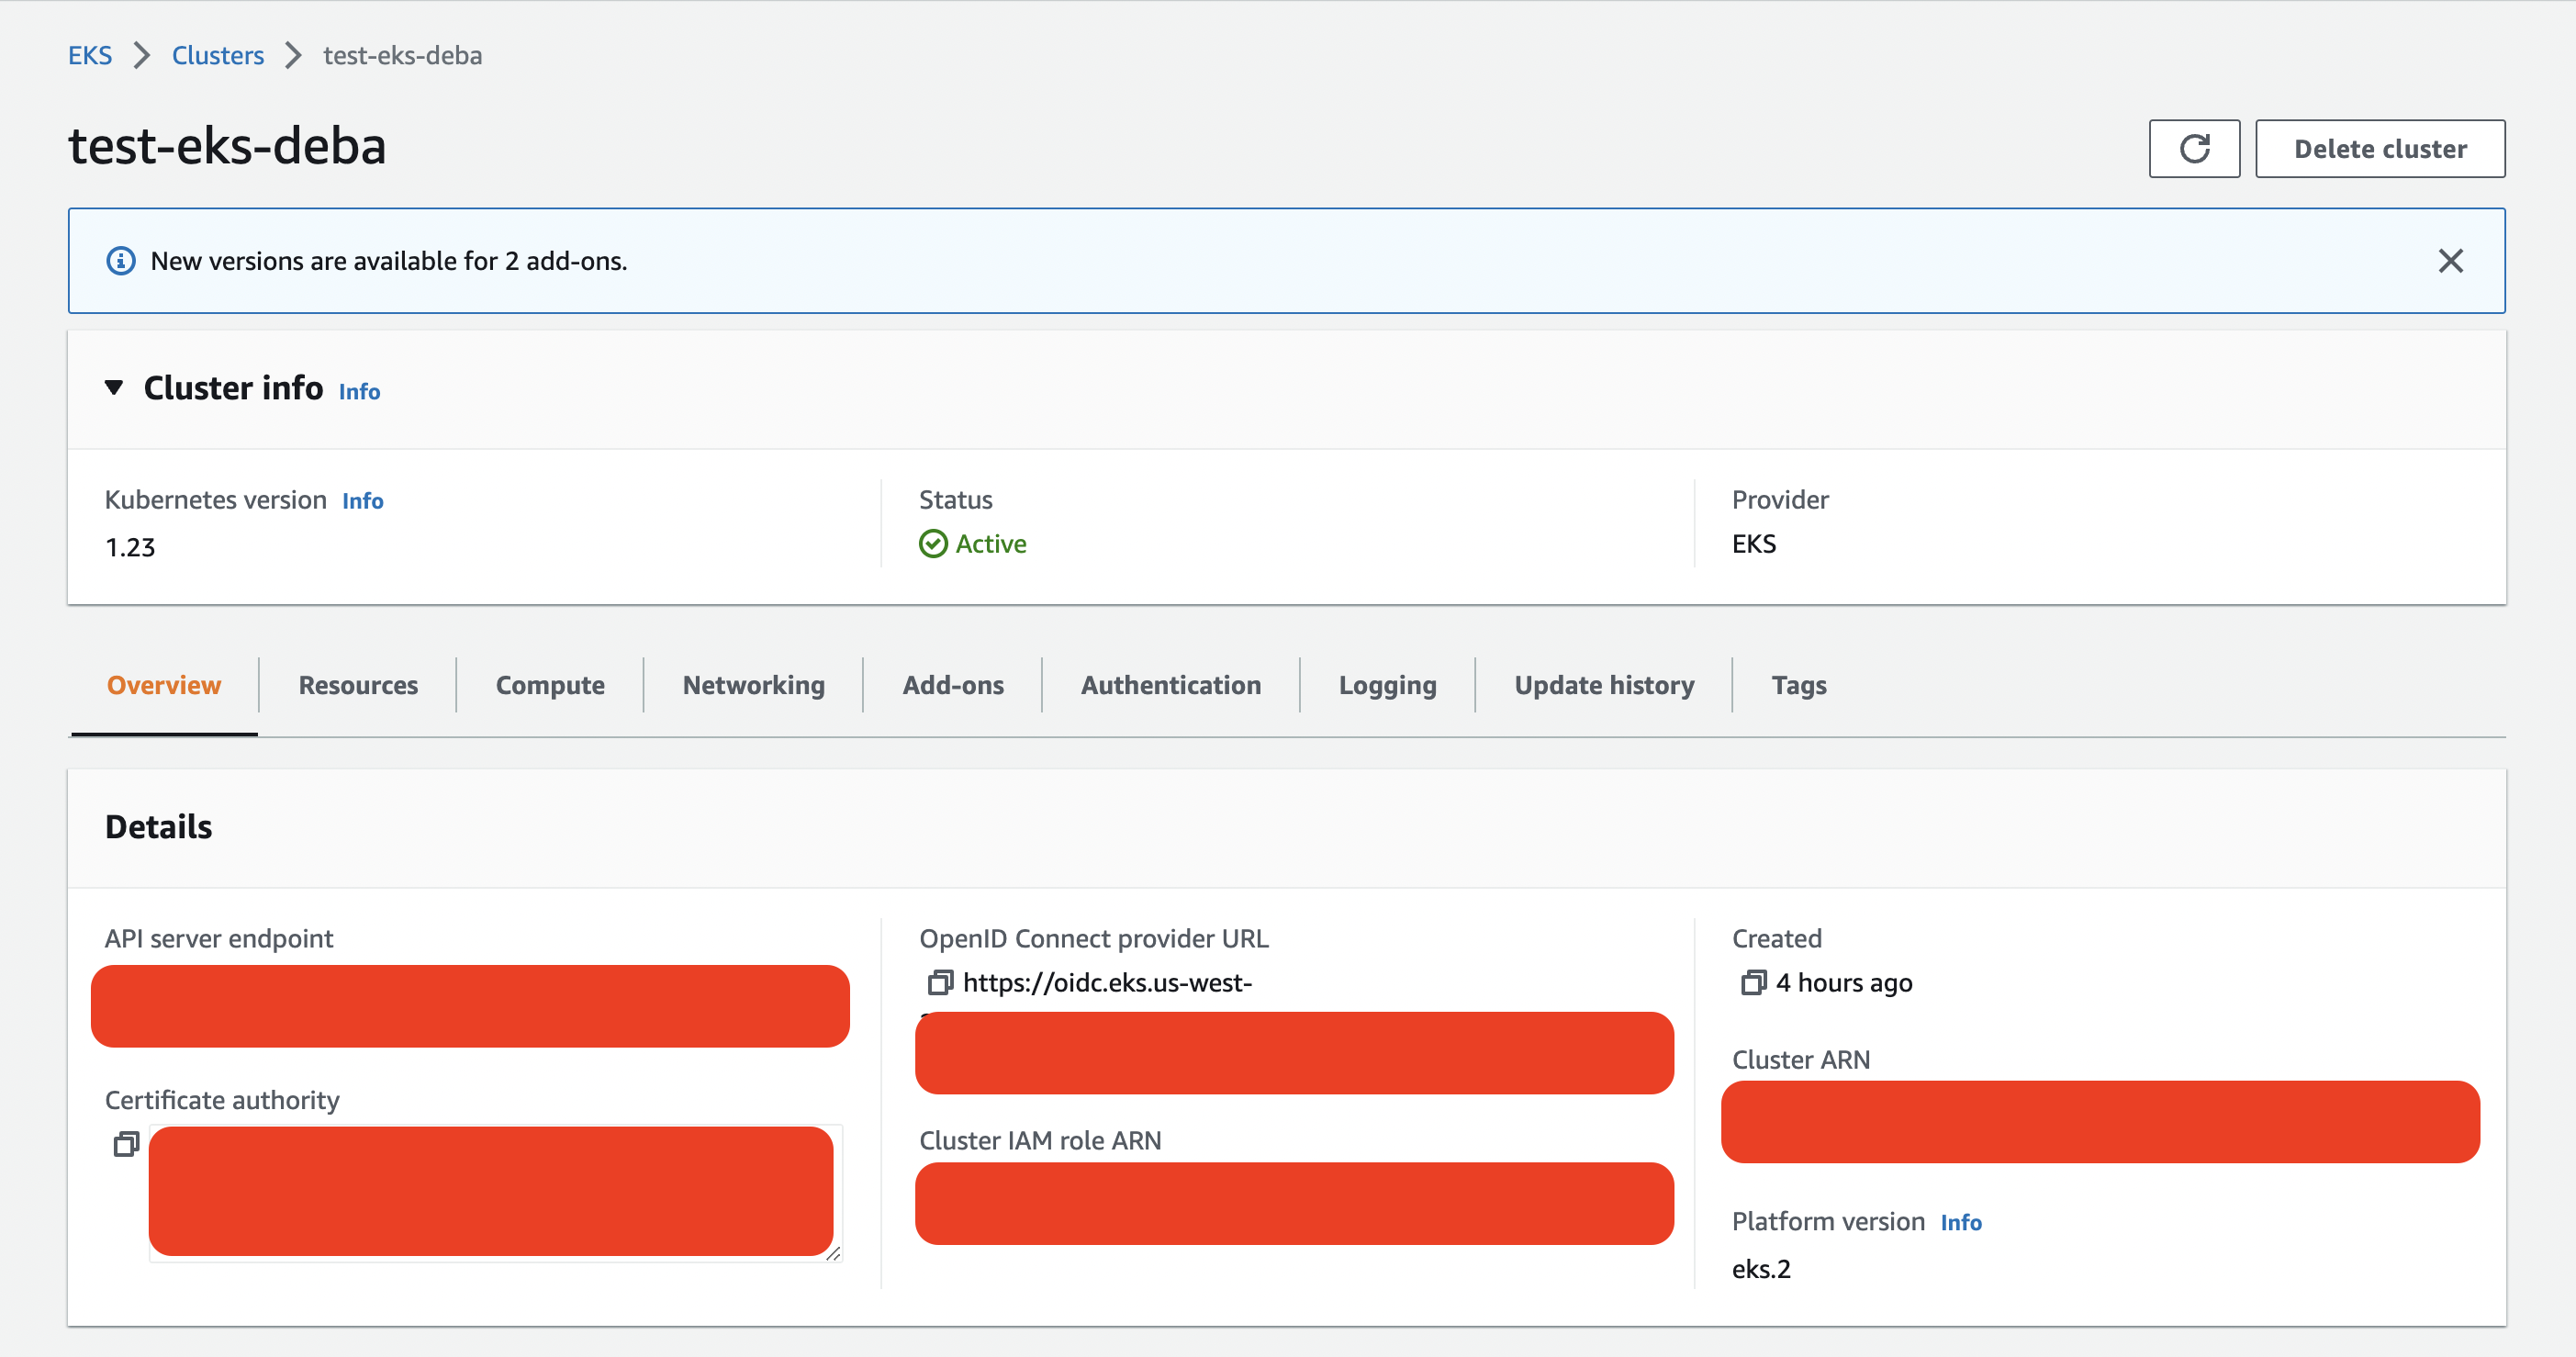
You will be able to see your cluster, after creation on the management console, like the picture below.
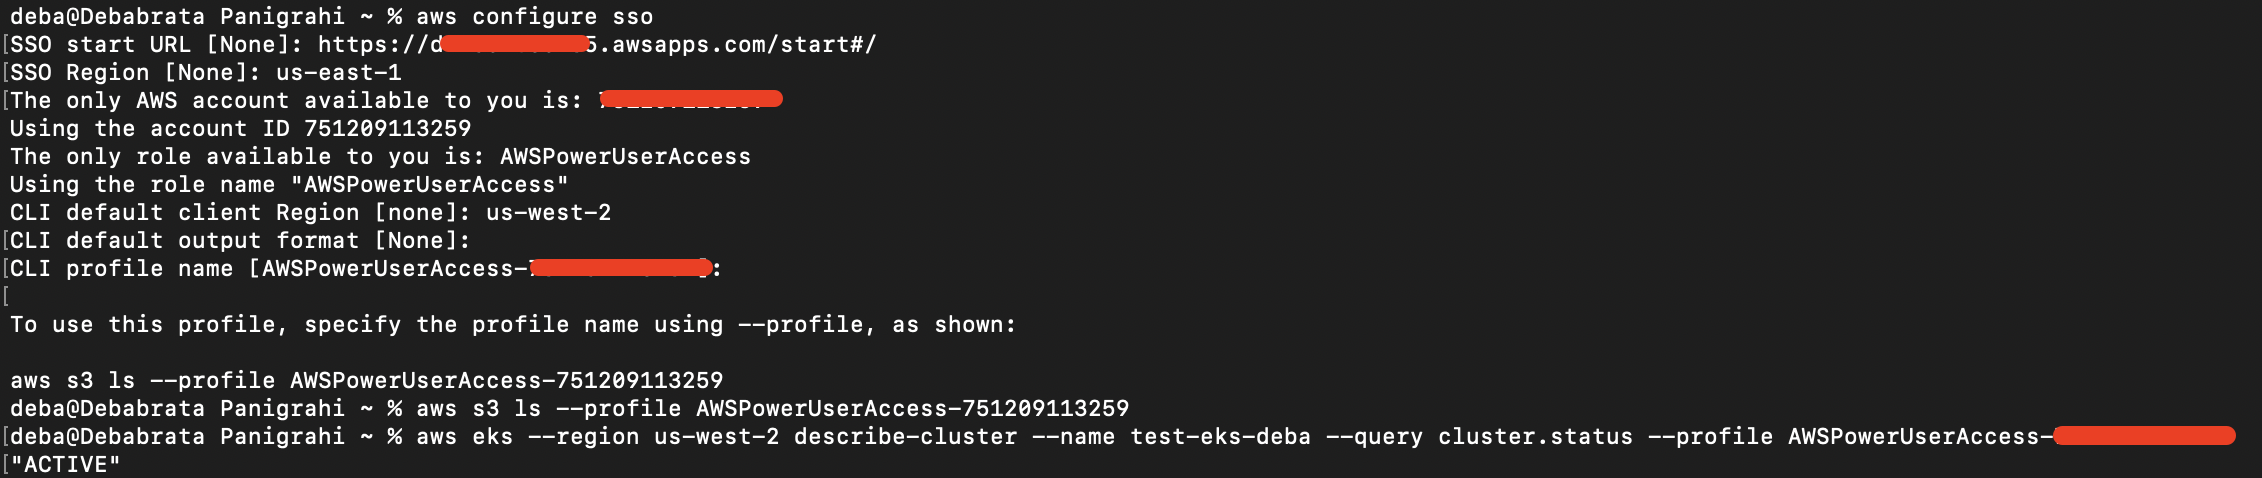
Authenticate to the cluster:
- Open a terminal and navigate to where the Delegate file is located.
- You will connect to your cluster using the terminal so you can simply run the YAML file on the cluster.

- In the same terminal, log into your Kubernetes cluster. In most platforms, you select the cluster, click Connect, and copy the access command.
Next, install the Harness Delegate using the harness-delegate.yaml file you just downloaded. In the terminal connected to your cluster, run this command:
kubectl apply -f harness-delegate.ymlThe successful output would look like this

To validate run the following command and check.
# kubectl get namespaces
NAME                  STATUS   AGE
default               Active   29h
harness-delegate-ng   Active   24m
kube-node-lease       Active   29h
kube-public           Active   29h
kube-system           Active   29h
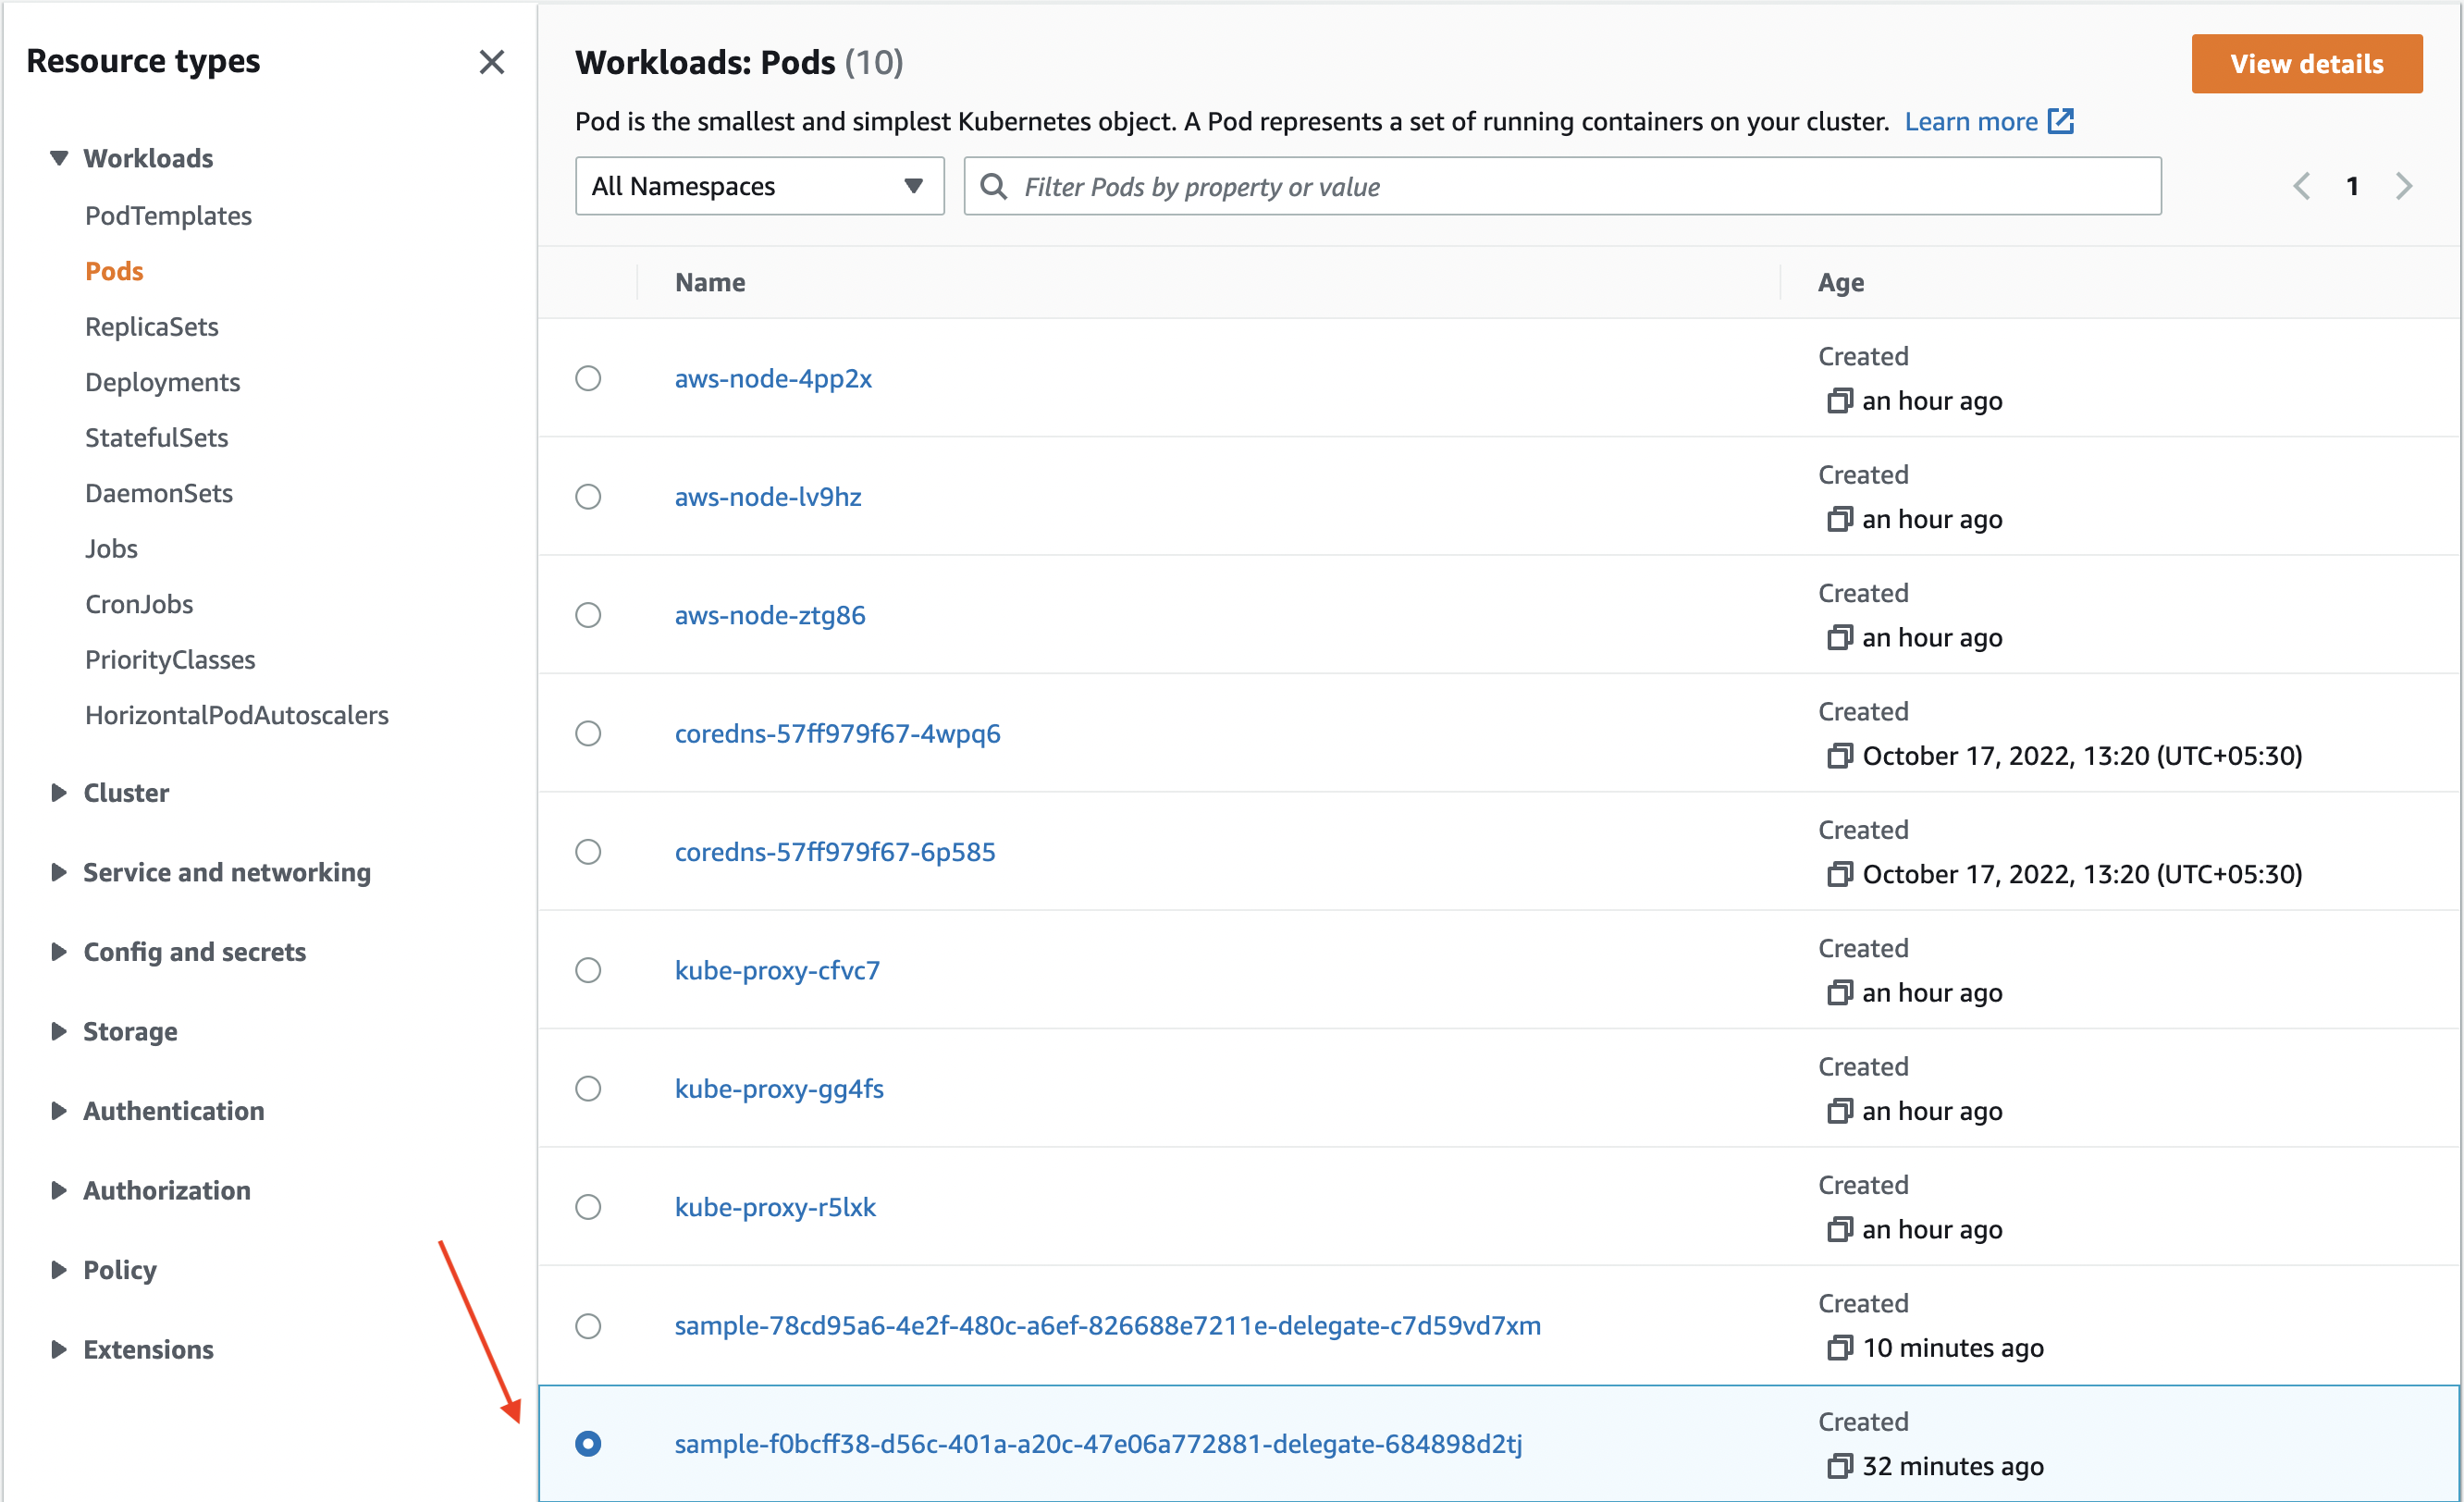
Also, you could check for pods under your AWS cluster to find the delegate
- Now that your cluster is operational, you may add resources to it by using the kubectl utility, as you can see. Please use Start Deploying in 5 Minutes with a Delegate-first Approach tutorial to install Delegate at this time and move forward with creating your CI/CD pipeline.
Warning: You have to exit the present pipeline without saving to view delegate details/continue with further steps.
- You could check about your delegates on the dashboard under Project Setup.
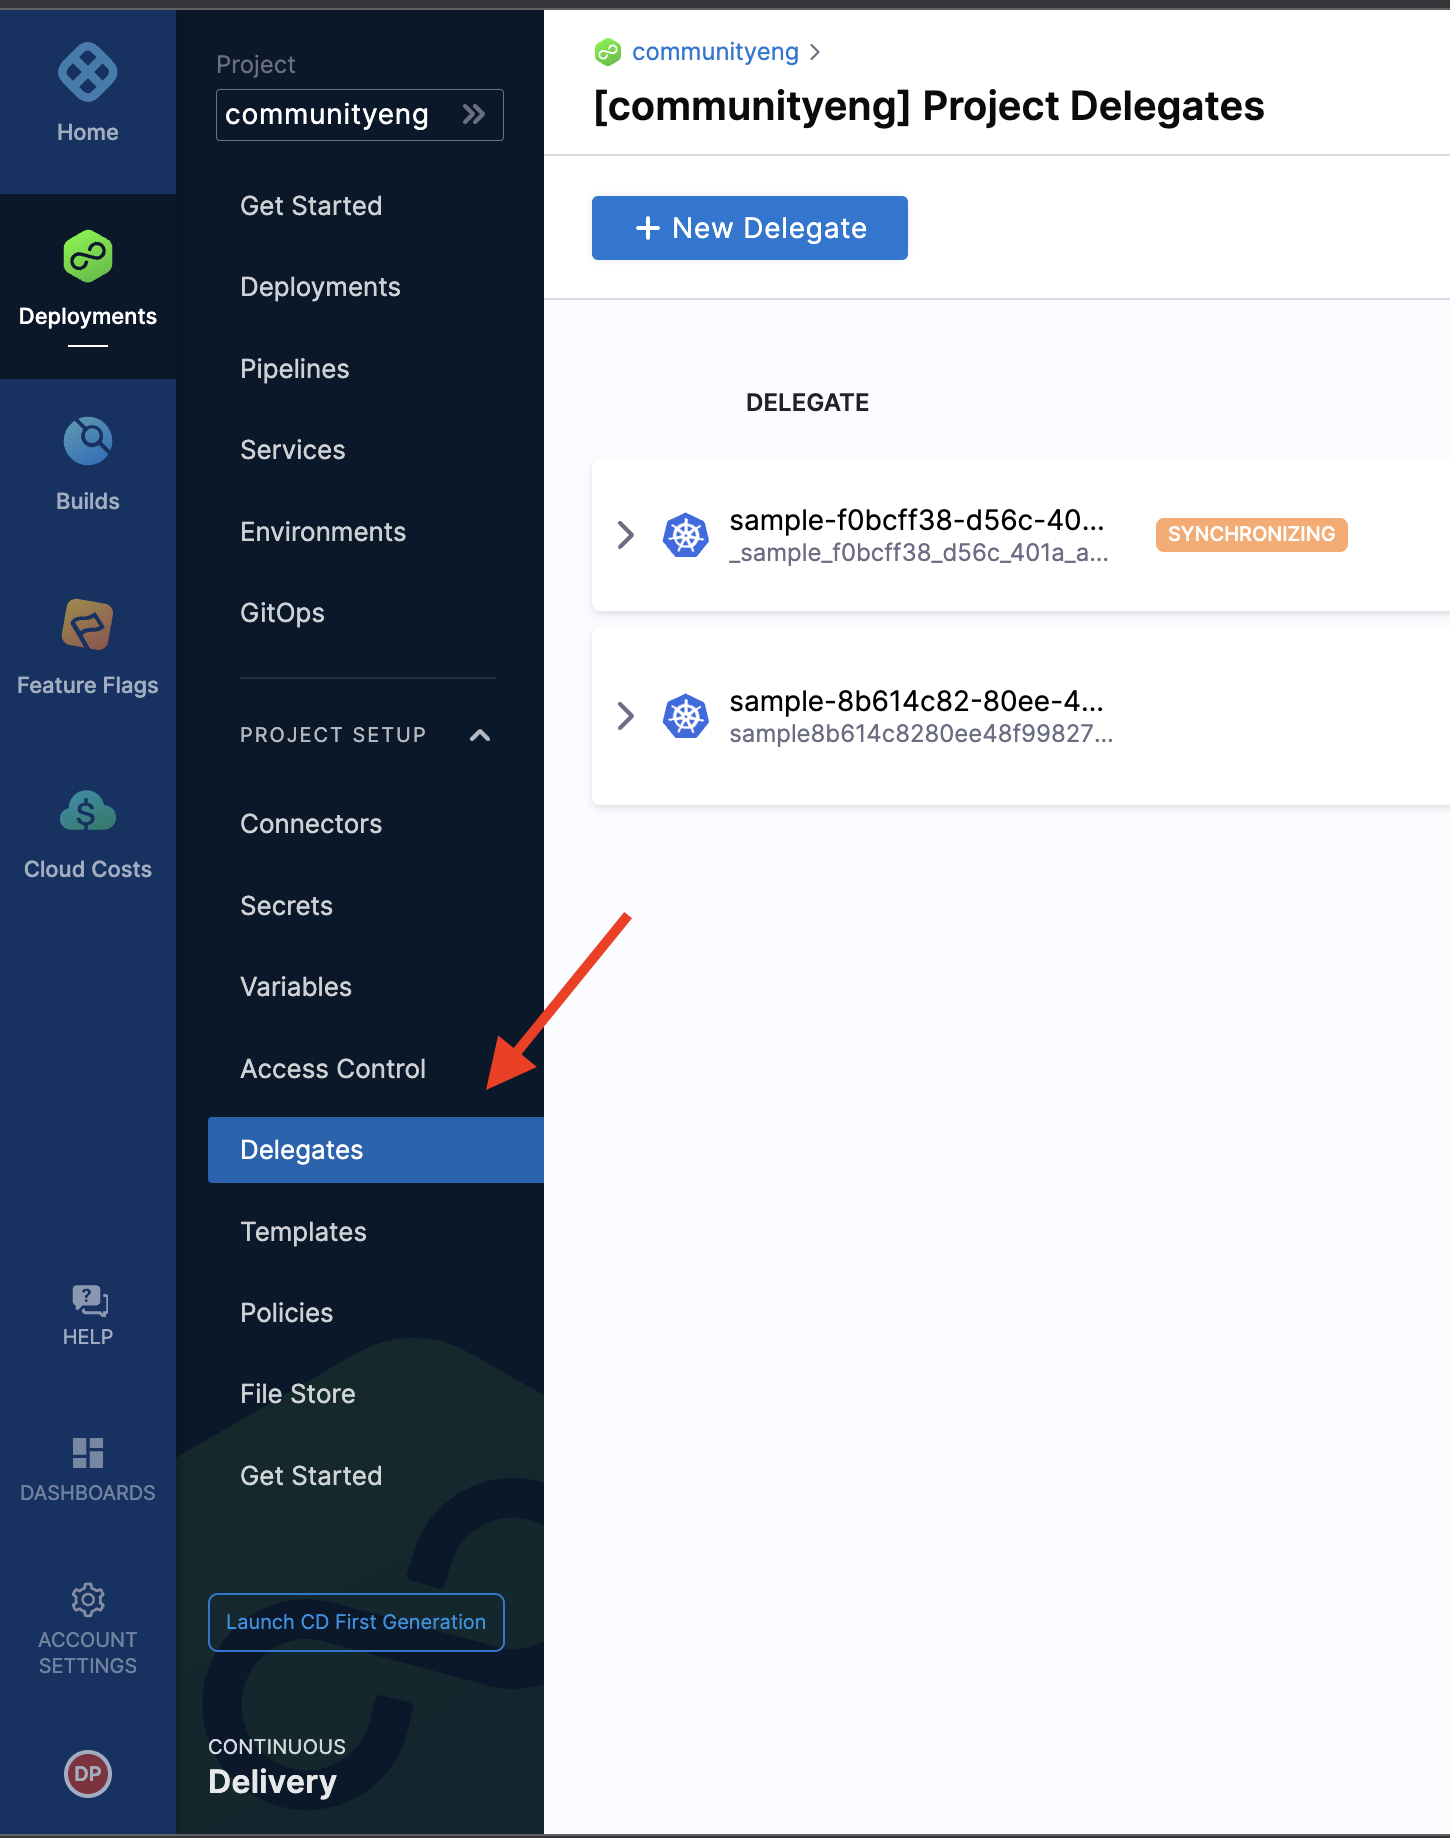
- The delegate details would look something similar to this

Note: Apart from the above mentioned way, there are other ways to install delegate on AWS, for eg using EC2.
Need further help?
Feel free to ask questions at community.harness.io or join community slack to chat with our engineers in product-specific channels like:
#continuous-delivery Get support regarding the CD Module of Harness. #continuous-integration Get support regarding the CI Module of Harness.